Your cart is currently empty!
A good scan to BIM workflow decides how long a project takes and how much the client trusts the result. This article walks through the stages of a scan-to-BIM project in Revit, from the brief to the delivered as-built model.
Stage 1: Agree the brief
Before anyone opens Revit, agree in writing:
- Level of detail (LOD) and level of accuracy (LOA). Which elements are modeled, and within what tolerance, for example ±15 mm for walls.
- Scope. Which floors, disciplines and areas; whether furniture or small services are included.
- Standards. Template, naming, families, units and coordinates.
This step prevents most disputes at handover.
Stage 2: Register and prepare the scan
Register the scans in Autodesk ReCap, clean obvious noise, and save an RCP project. Link it into the Revit template at the agreed coordinates. Then set up levels, plans with a suitable view range, and 3D views with section boxes per area.
Stage 3: Model by discipline in a scan to BIM workflow
Work from large to small, so each step can rely on the previous one:
- Grids and levels.
- Structure: columns, beams and slabs. Fit Structure sizes them from the scan.
- Architecture: walls, then doors and windows hosted in them. Fit Arch measures thickness and opening sizes.
- Floors, roofs and site: shaped to the real levels with Calculate Surface and Floor By Points.
- MEP: main runs first, then branches. Fit MEP fits sizes, MEP Corner / MEP Tee connects them.
Stage 4: Quality check against the scan
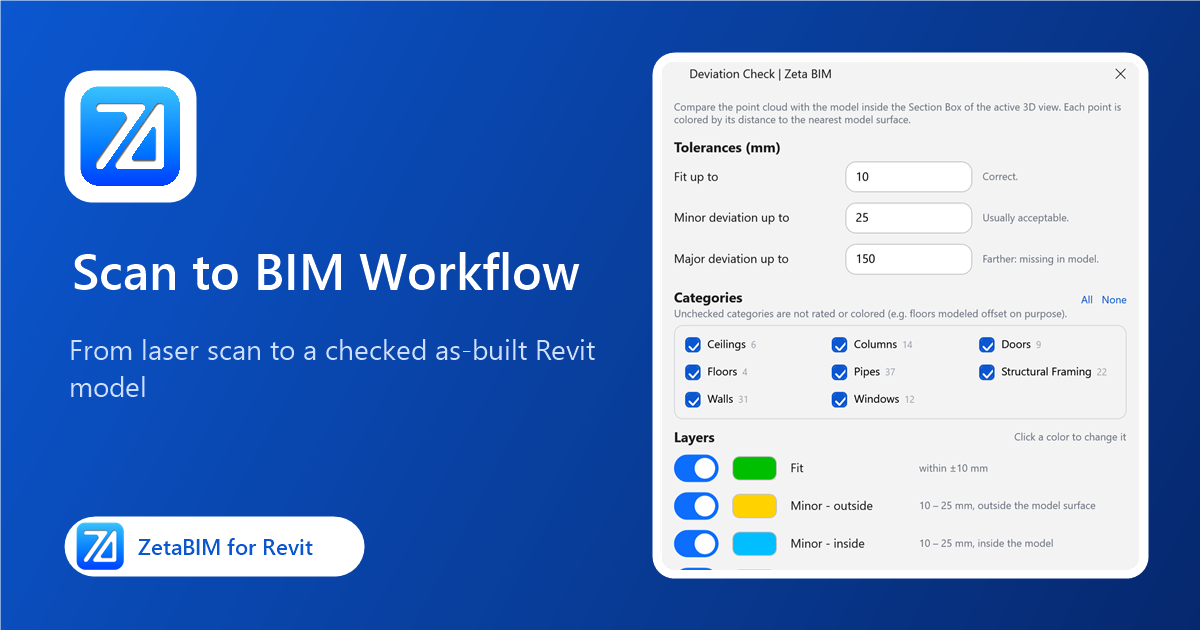
QA is what turns a model into a reliable as-built record. Check two things:
- Completeness: is everything in scope modeled? Scan points far from any element, shown as Missing in model in Deviation, point to gaps.
- Accuracy: is each element within the agreed tolerance? The Deviation report lists elements by how far they are off.
Track the findings with Model Check, so every issue has an owner and is verified after the fix.
Stage 5: Deliver
- Clean the model: Rename Types, Cleanup ZetaBIM Data, Purge CAD.
- Export the deviation report as part of the handover, showing the share of the scan within tolerance.
- Keep the RCP with the project so future work can check against it.
Where a scan to BIM workflow loses time
| Problem | Fix |
|---|---|
| Measuring every element in sections | Tools that size elements from the scan |
| Rework after the client’s review | A deviation check before handover |
| Inconsistent types and names | Size-based type names and rounding rules |
| Slow, heavy views | Section boxes, cropped views, hiding the scan when not needed |
Next steps
Read the Revit point cloud plugin guide for the full ZetaBIM toolset, or the step-by-step how to model point cloud in Revit guide.
Get ZetaBIM
ZetaBIM is a Revit plugin for scan-to-BIM teams. See the complete guide to the Revit point cloud plugin workflow. Download ZetaBIM to try it, browse more ZetaBIM tutorials, or watch the videos on the ZetaBIM YouTube channel.
About The Author