Your cart is currently empty!
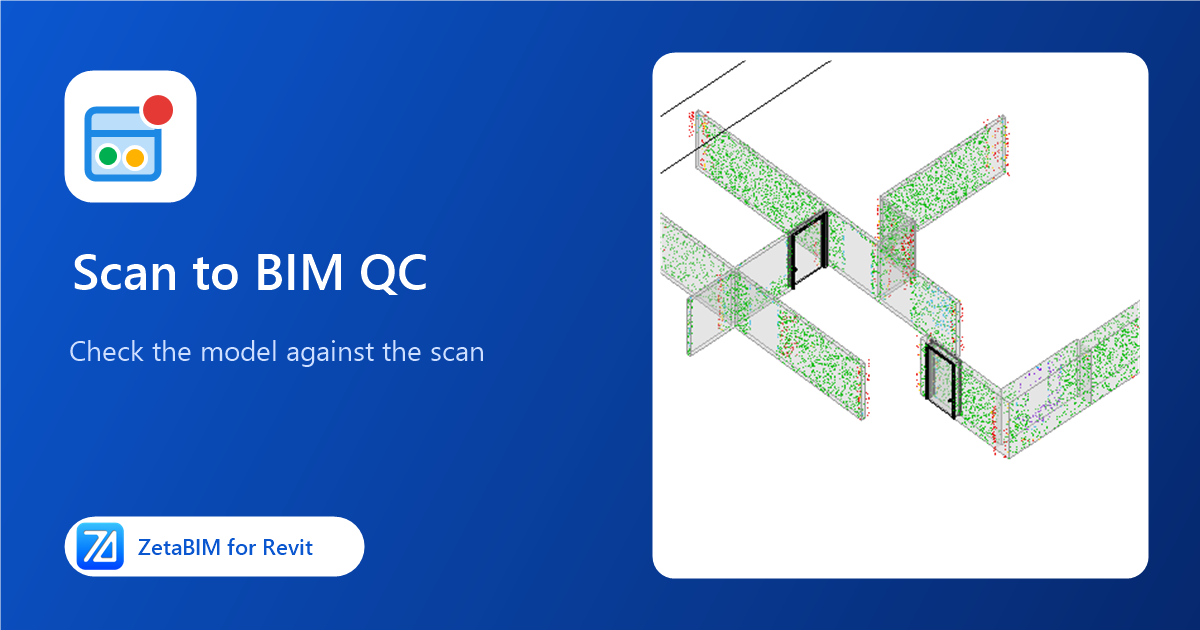
A scan-to-BIM model is only worth what its accuracy is worth. Clients rarely check every wall, but when they find one that is off, they stop trusting the whole model. This article shows a simple scan to BIM quality control routine you can run in Revit before every delivery.
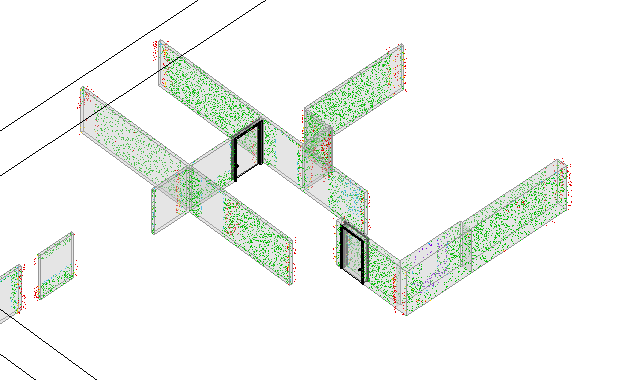
Why scan to BIM quality control matters
- The scope promises an accuracy. If the contract says LOA 30, you should be able to show that the model meets it. See LOD vs LOA for how to write that into the scope.
- Errors are cheap to fix early. A wall placed 50 mm off is a one-minute fix today and a site problem in six months.
- Visual checks are not enough. Looking at the model over the scan catches big mistakes, but not a column that is 30 mm out or a slab that is modeled flat when the real one sags.
- Teams need a record. Who found the problem, who fixed it and who checked the fix should not live in emails.
A four-step QC routine
- Compare the model with the point cloud and find the elements that are off.
- Log each problem as an issue with an image and a note.
- Fix the elements and check that the fix worked.
- Report the result to the client.
Step 1: Compare the model with the point cloud
Start with the area you just finished, for example one floor. Crop a 3D view to it with a section box. Face Section Box fits the box around a selected element in one click.
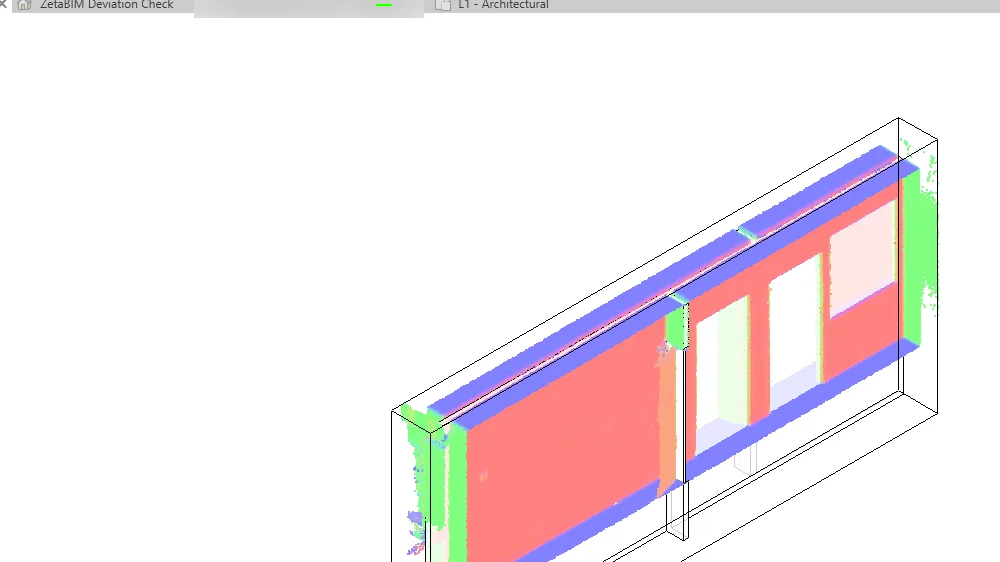
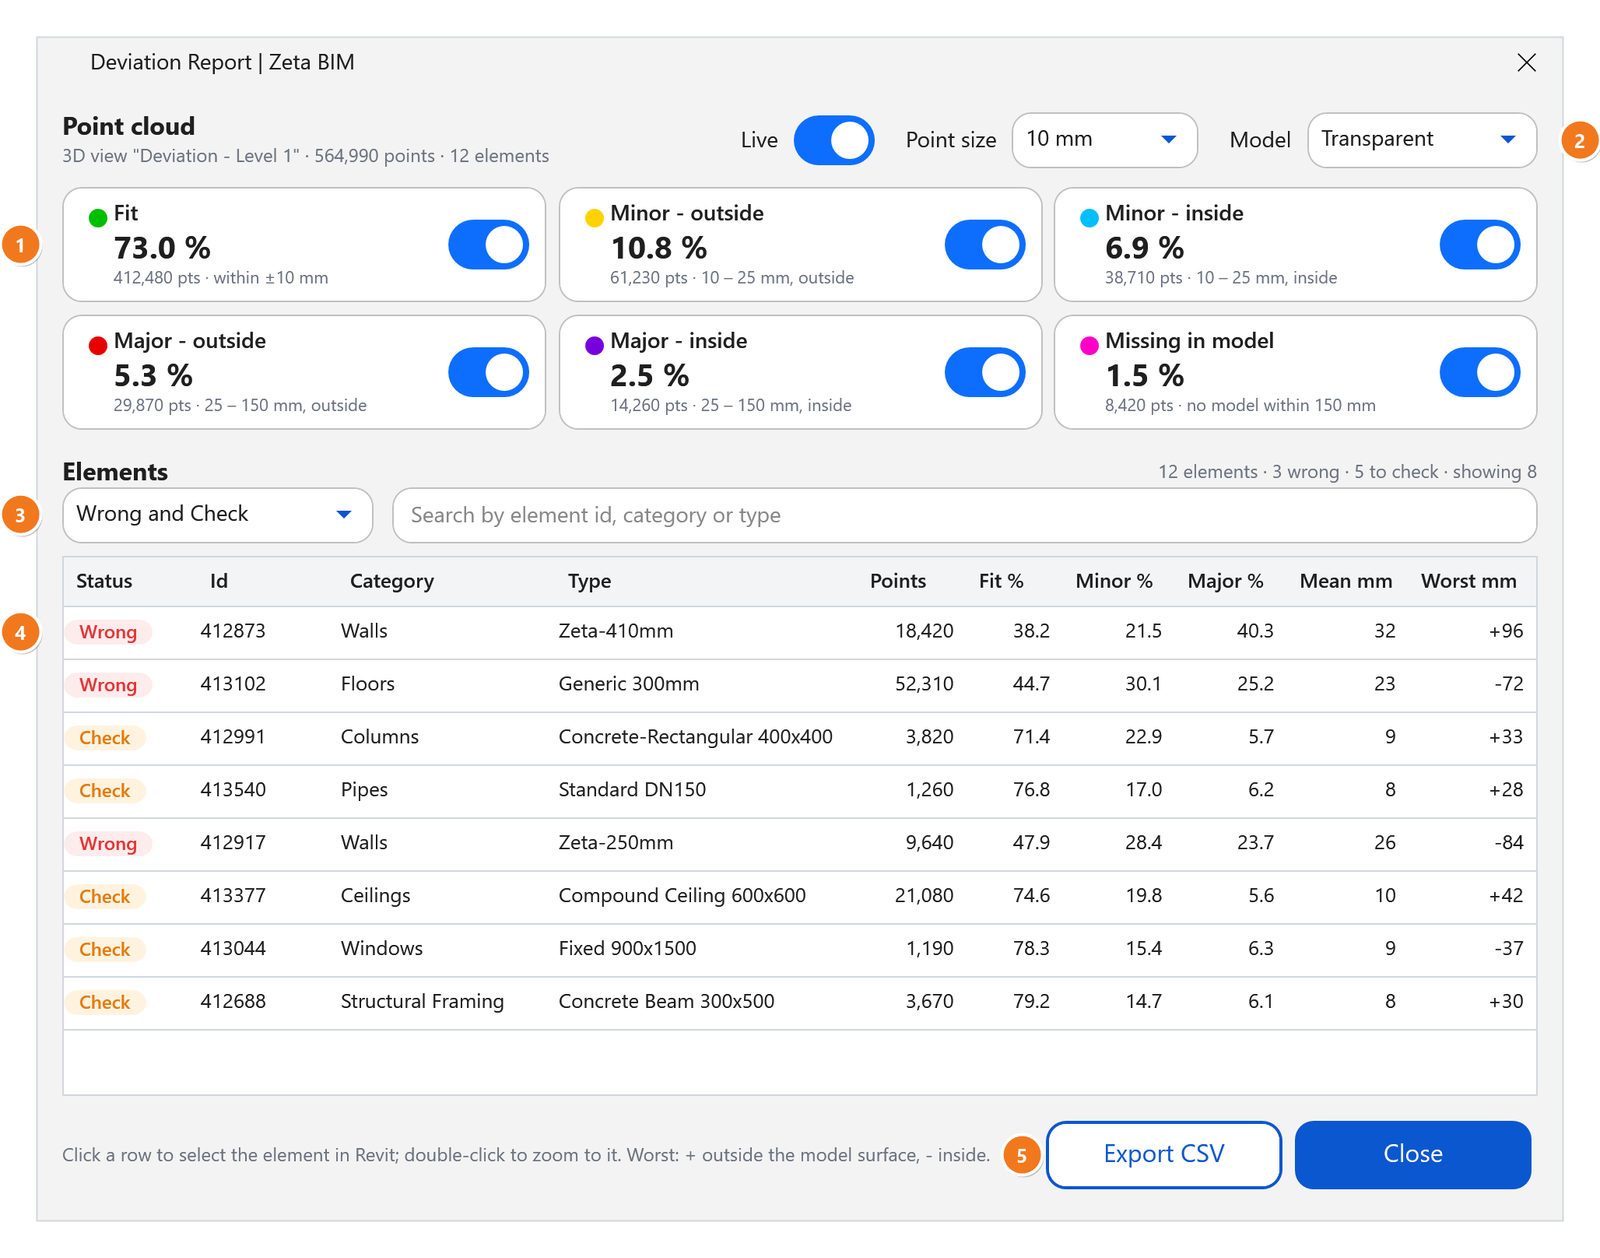
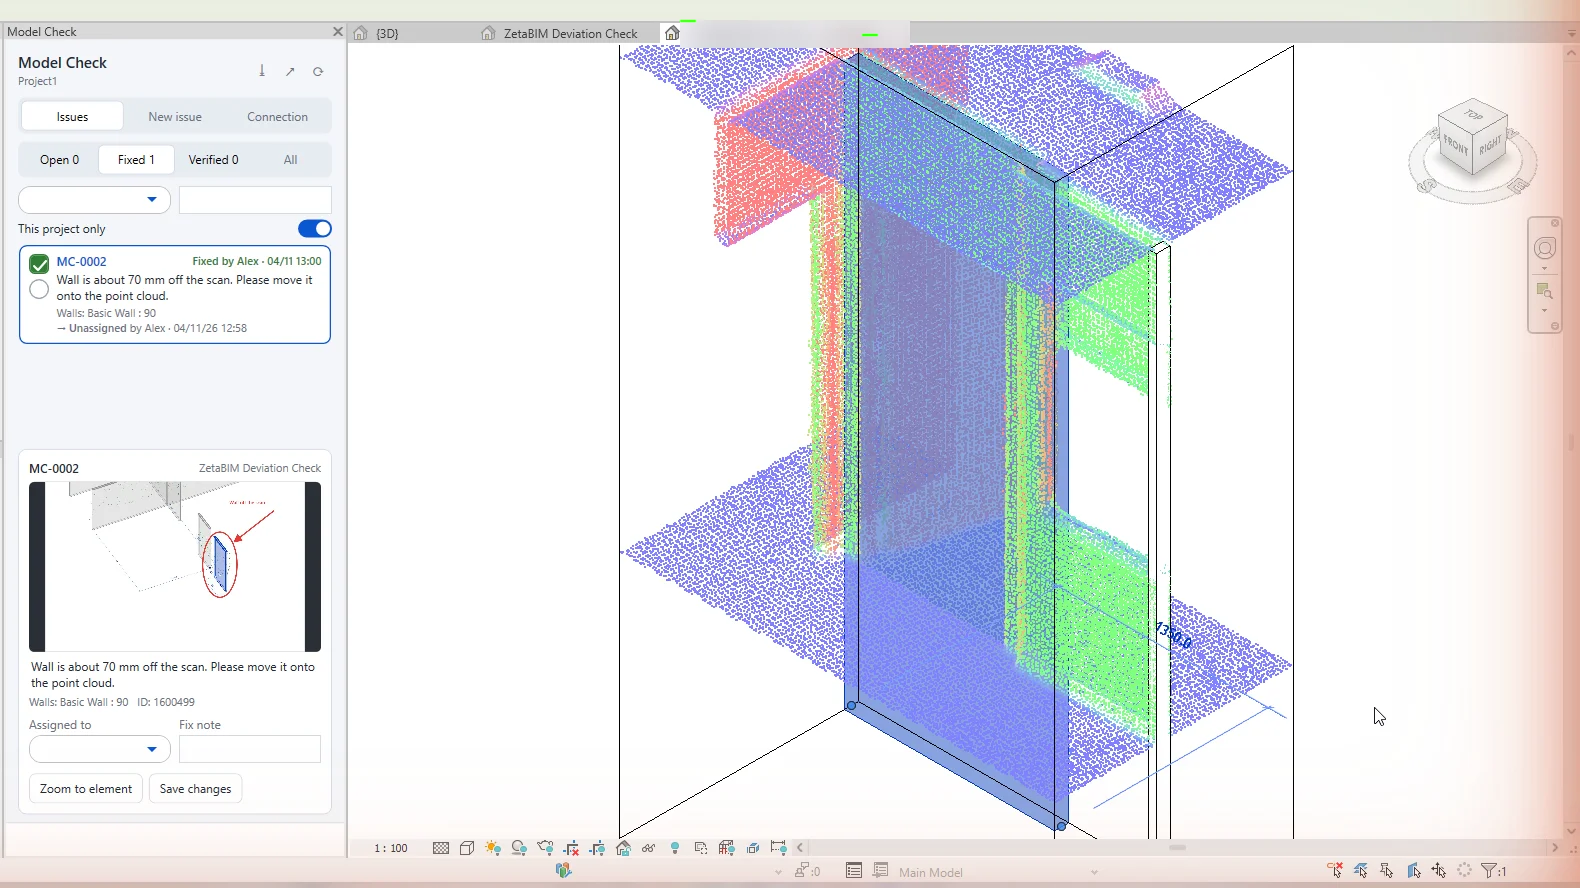
Then run Deviation Check. Every scan point is colored by how far it is from the nearest model surface: green points fit, other colors show where the model and the scan disagree. Points where nothing is modeled stand out too, so you also catch missing elements.
The report lists the elements from worst to best, so you know where to start.
Tips for this step
- Check by area or by floor, not the whole building at once. It is faster and easier to read.
- Leave out categories you modeled with an intended offset, such as finished floors over a structural scan.
- Agree the tolerance bands with the scope: what counts as fit, what is acceptable and what must be fixed.
Step 2: Log every problem as an issue
A list of element IDs is hard to act on. Turn each problem into an issue with a picture. In Model Check, capture the view, draw on it and add a short note.
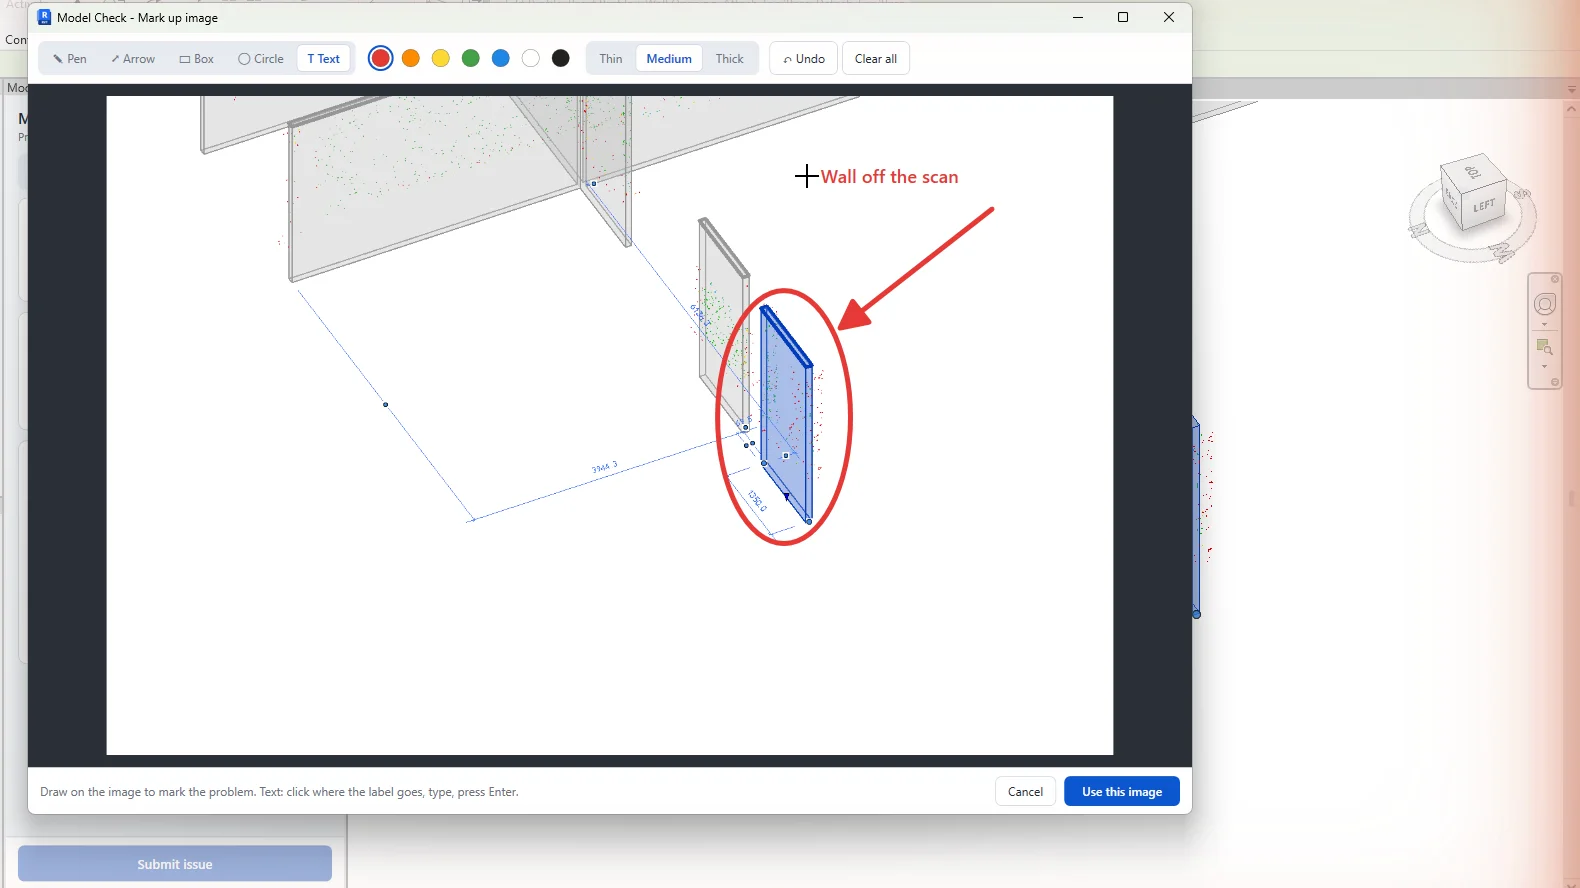
Link the element to the issue and assign it to the modeler who owns that area. Everyone on the team sees the same list, whether you share it through a team folder or a Google Sheet.
Step 3: Fix and check the fix
The modeler opens the issue and uses Zoom to element to go straight to the problem.
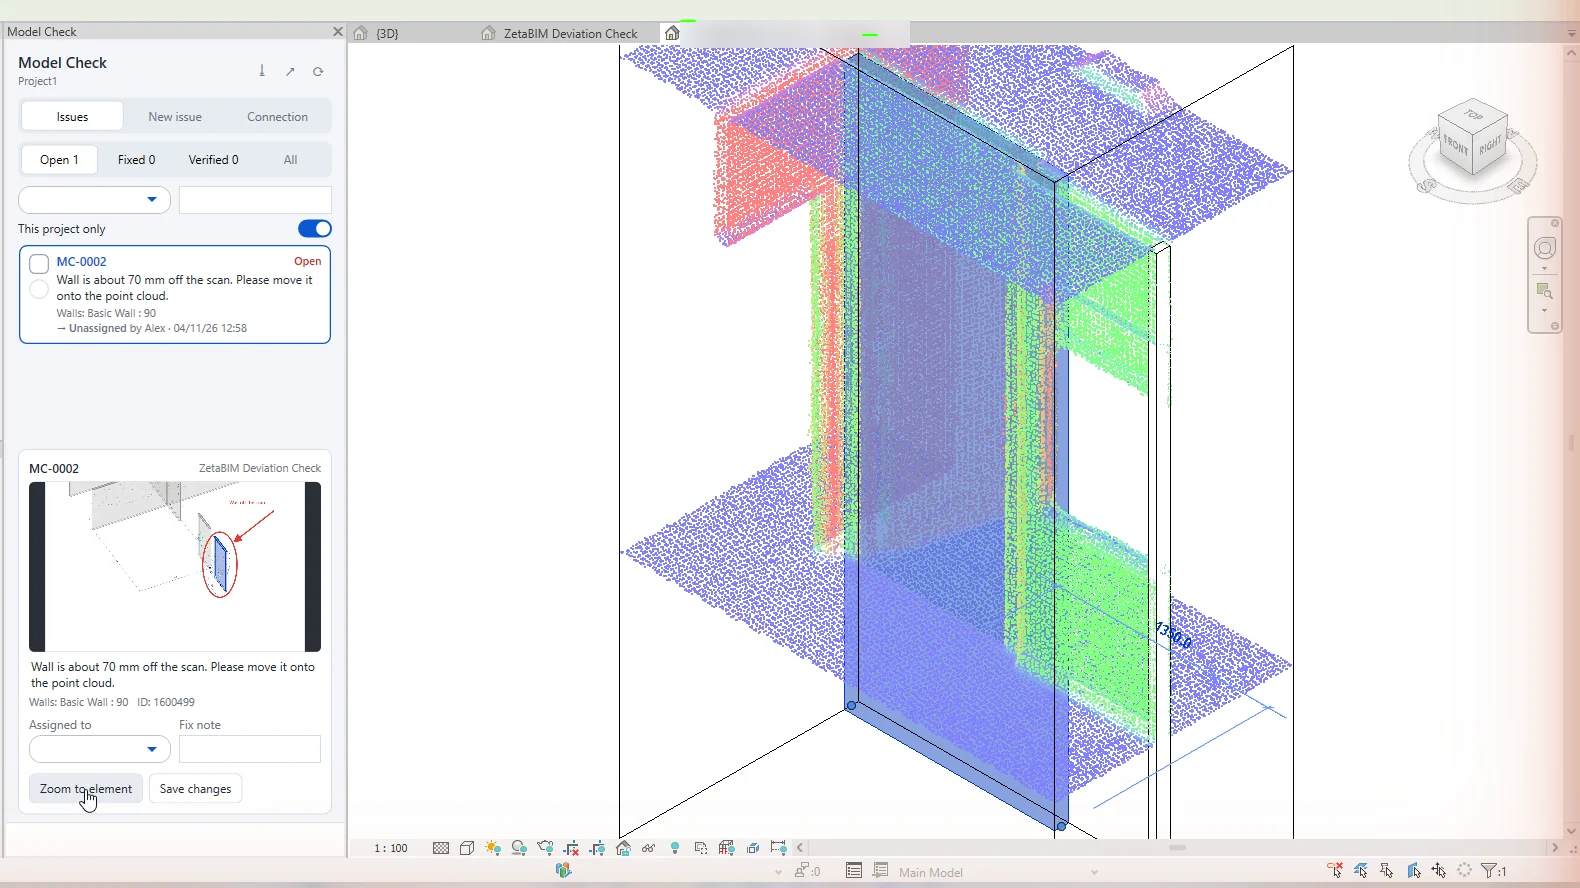
After the fix, run the deviation check again on that area. With Live on, the points recolor as soon as you move the element, so you see at once whether it now sits on the scan.
Tick the issue Fixed with a short fix note. A second person, the team leader or checker, ticks Verified after looking at it.
Step 4: Report to the client
Two exports give the client a clear picture:
- The deviation report as CSV, showing how much of each element fits the scan.
- The issue list as Excel, with images, showing what was found and fixed.
Keep both with the delivery. If the client questions an area later, you can show what was checked and when.
Common problems the QC routine finds
| Problem | How it shows up |
|---|---|
| Wall on the wrong side of the scan | A whole wall face in one color |
| Wrong wall thickness | One face fits, the other does not |
| Flat floor where the slab sags | Points get worse towards the middle of the room. Shape it with Floor By Points. |
| Missing element | Points with no model surface nearby |
| Column or beam slightly rotated | One end fits, the other drifts away |
Make QC part of the workflow
Quality control works best as a habit, not a last-minute check. Run it at the end of each floor or each modeling day, and the final check before delivery becomes short. The full process from scan to model is in the scan to BIM workflow, and the Revit-side tools are covered in the Revit point cloud plugin guide. A clean, registered scan from Autodesk ReCap is the starting point: QC can only be as good as the scan you compare with.
FAQ
How often should I run a deviation check?
At least once per floor or area, and once before delivery. Small checks are faster than one big one at the end.
Does a green model mean the model is correct?
It means the modeled surfaces sit on the scan. You still need to check what the scan cannot show, such as hidden layers, materials and parameters.
Can the client run the check themselves?
Yes, if they have Revit, the point cloud and ZetaBIM. Most clients prefer the exported reports.
Get ZetaBIM
ZetaBIM is a Revit plugin for scan-to-BIM teams. See the complete guide to the Revit point cloud plugin workflow. Download ZetaBIM to try it, browse more ZetaBIM tutorials, or watch the videos on the ZetaBIM YouTube channel.
About The Author