Your cart is currently empty!
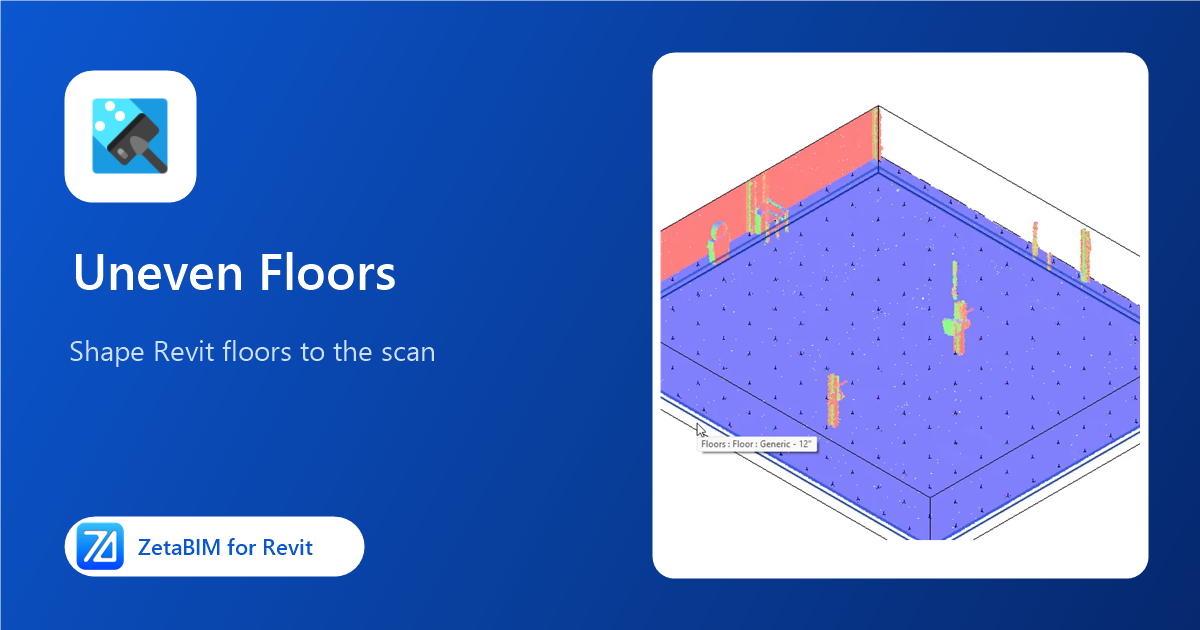
Real slabs are rarely flat. Old floors sag between beams, garages fall towards drains and terraces slope for water. If you model them flat, sections, levels and quantities no longer match the building. This article shows how to model an uneven floor in Revit so that it follows the point cloud.
Why an uneven floor in Revit is hard to model by hand
Revit can shape a floor with Modify Sub Elements: you add shape points and type a height for each one. That works for a ramp with four corners. For a sagging slab you need dozens of points, and each height has to be read from the scan first. It is slow, and it is easy to type a wrong value.
The faster way is to let the scan give you the heights:
- Measure the real surface on the point cloud.
- Shape the floor to the measured points.
- Check the result in a section.
Step 1: Prepare a flat reference floor
Model the floor flat first, with the right type and boundary, placed at or slightly below the scanned surface. This floor is used both as the area to measure and as the element you shape later.
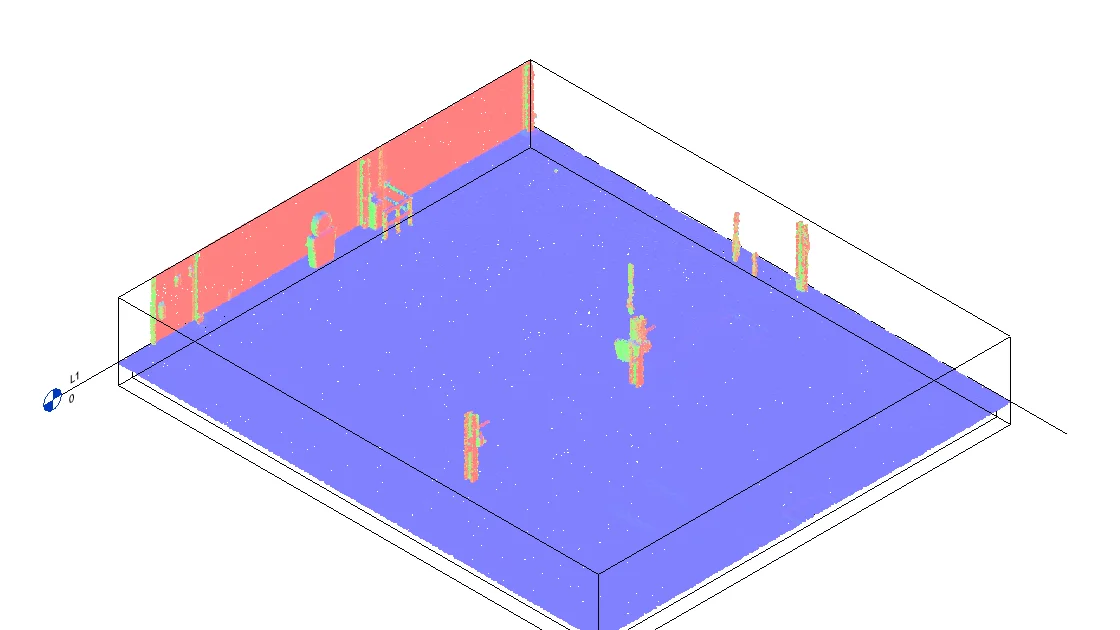
Open a 3D view where the point cloud is visible. Crop it to the room with a section box to keep Revit fast; see point cloud slow in Revit for more tips.
Step 2: Measure the real levels on the scan
You have two options, and you can mix them.
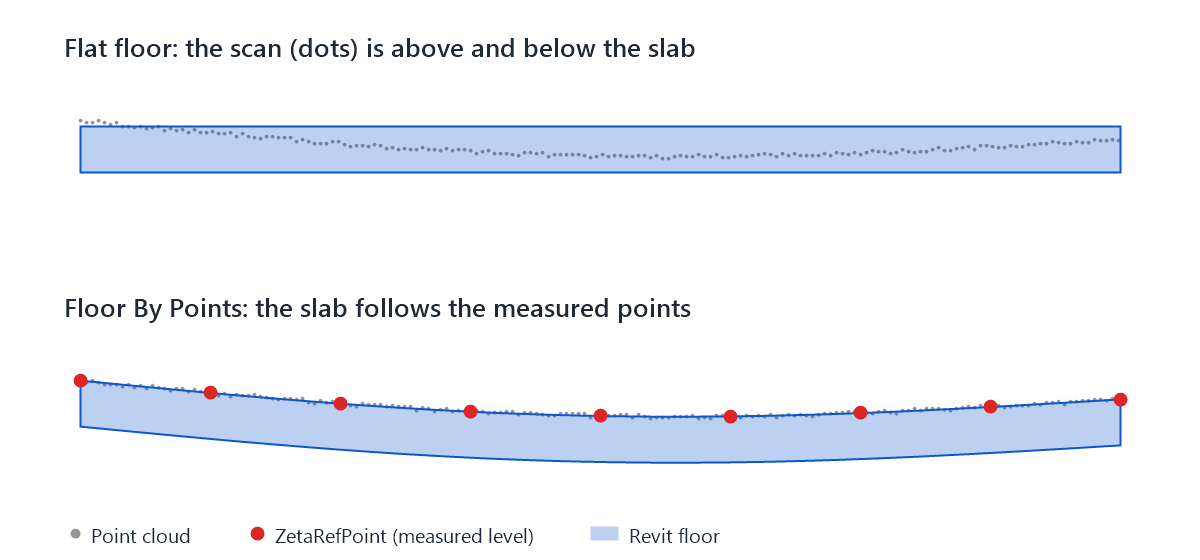
Measure on a grid. Calculate Surface reads the scan at regular grid points over the floor and places a reference point at each measured height. Use a fine grid where the slab changes a lot and a coarse one where it is nearly flat.
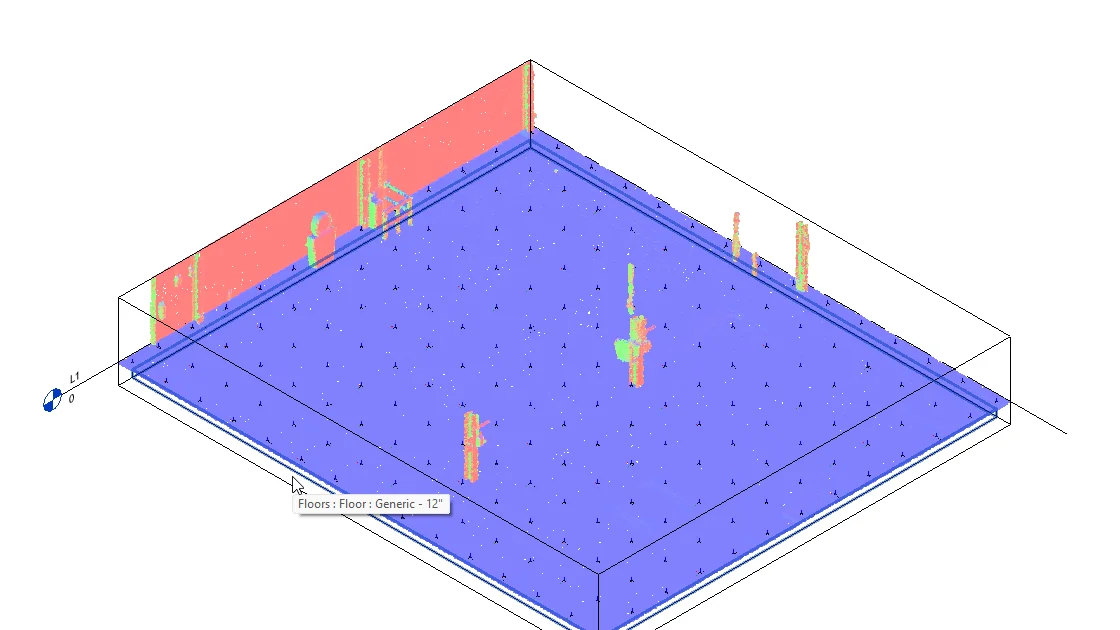
Pick single points. For a ramp, a drain or a step, place points exactly where you need them with Placing Ref Point. Each point shows its measured elevation.
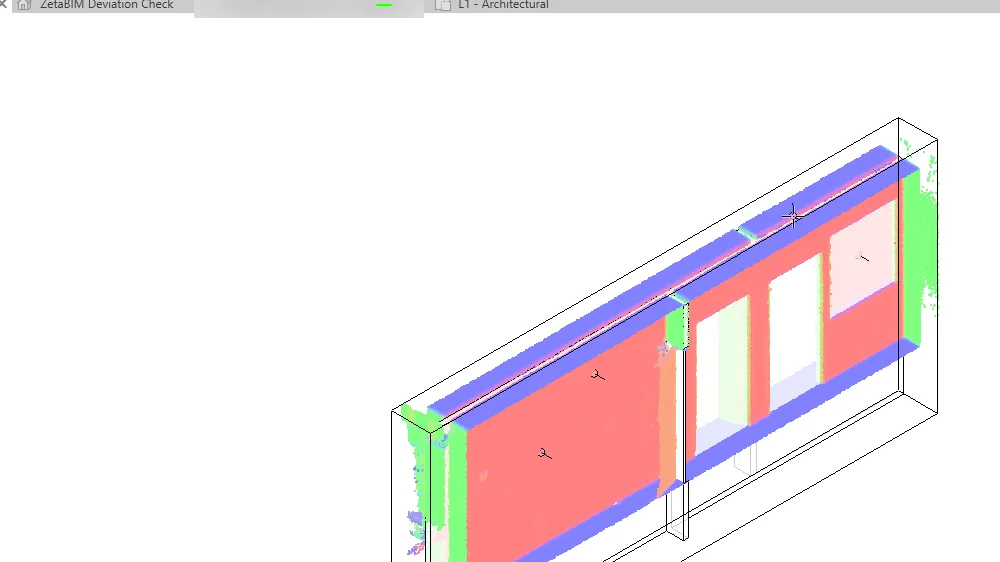
Look at the points before you go on. A point on top of a box or a chair will lift the floor in that spot; delete it.
Step 3: Shape the floor to the points
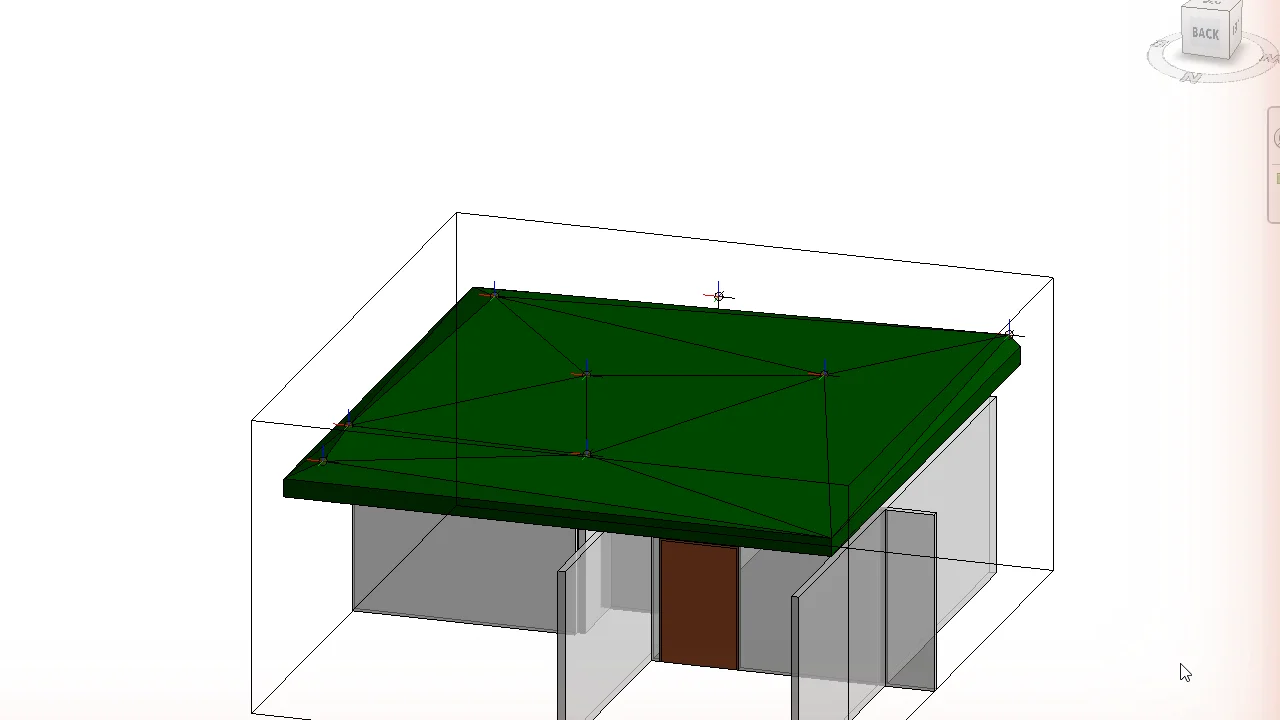
Run Floor By Points, pick the floor and window-select the reference points. A shape point is added at every point, and the top of the floor now follows the scan.
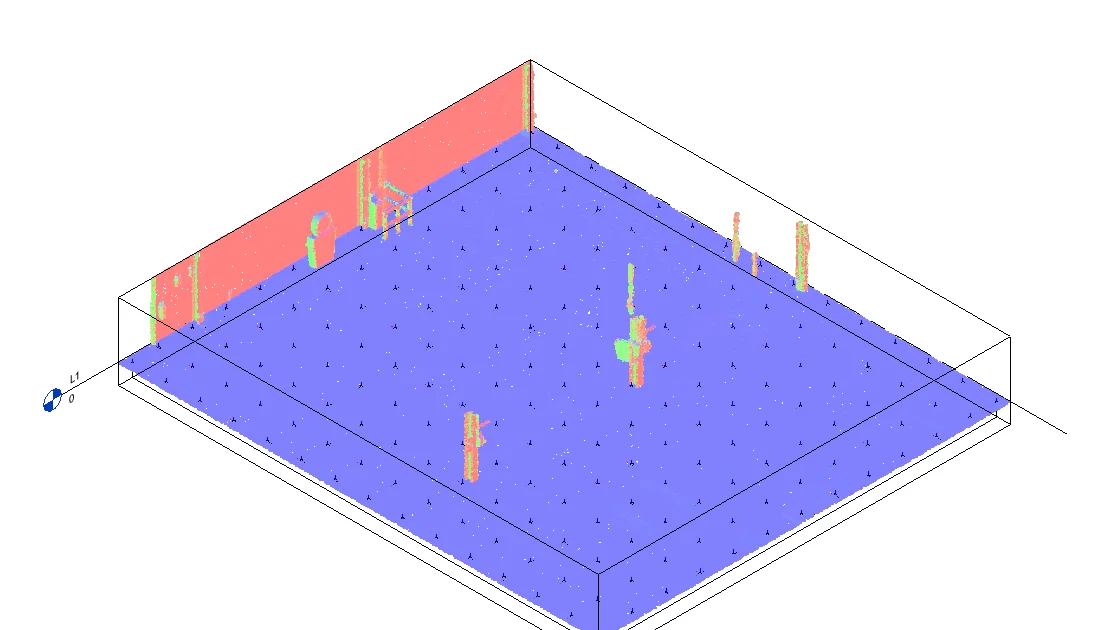
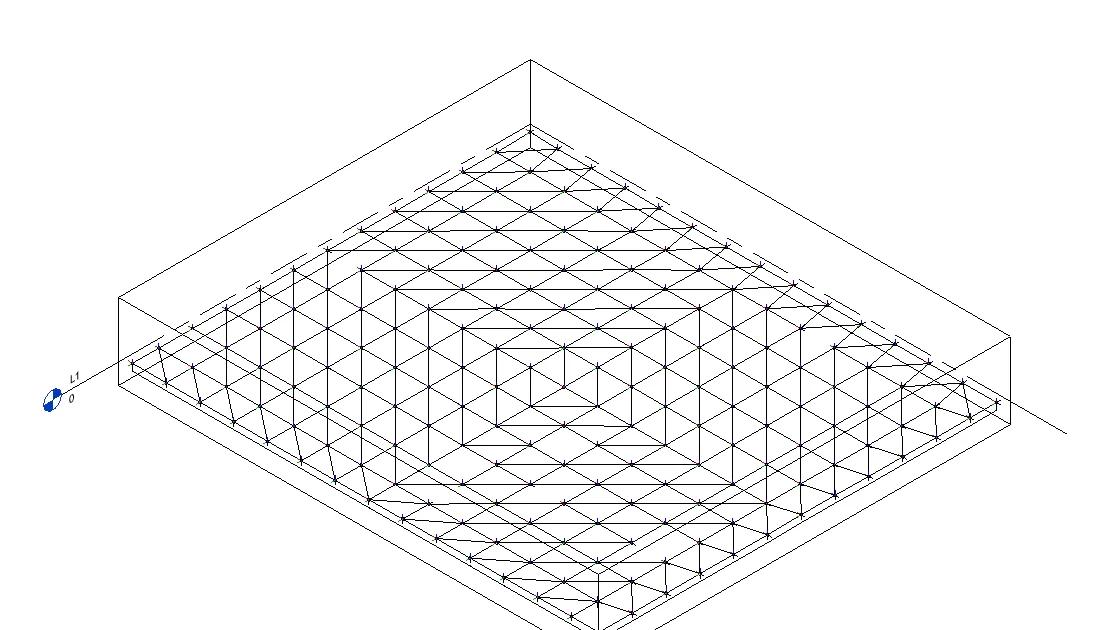
The shape points are normal Revit shape points. You can still move or delete them with Modify Sub Elements, and one Undo brings the flat floor back.
Step 4: Check the result
- Section. Cut a section through the lowest and highest areas and compare the floor with the scan.
- Spot elevations. Place a few spot elevations on the floor and compare them with the point elevations.
- Deviation check. For a full check, run Deviation: points that fit the floor show green, so you see at once where it still differs from the scan. The scan to BIM quality control article describes a full QC routine.
The same method for roofs and sites
Roofs and terrain work the same way:
- Flat roofs with falls: Roof By Points shapes a footprint roof to the measured points.
- Ground and landscaping: Topo By Points builds or reshapes a toposolid.
Tips
- Variable thickness. If the floor type has a variable layer, only that layer follows the shape and the bottom stays flat. Otherwise the whole slab bends. Set this in the floor type’s structure in Autodesk Revit before you shape the floor.
- Fewer points, better floors. Too many points make the floor heavy and slow to edit. Use the coarsest grid that still captures the shape.
- Split large slabs. One floor per room or per bay is easier to shape and to check than one floor for the whole storey.
- Clean up afterwards. Remove the reference points with Cleanup ZetaBIM Data when you no longer need them.
FAQ
Can I make an uneven floor in Revit without a plugin?
Yes, with Modify Sub Elements and typed heights. It works for simple slopes but is slow for real, sagging slabs.
Does the floor type change?
No. Revit’s own shape editing is used, so the floor keeps its type and parameters.
How accurate is the result?
As accurate as the scan and the number of points you measure. Check it in section and with a deviation check before delivery.
Get ZetaBIM
ZetaBIM is a Revit plugin for scan-to-BIM teams. See the complete guide to the Revit point cloud plugin workflow. Download ZetaBIM to try it, browse more ZetaBIM tutorials, or watch the videos on the ZetaBIM YouTube channel.
About The Author