Your cart is currently empty!
Your surveyor sends an E57 file, but Revit will not open it. This guide shows how to import point cloud into Revit step by step: convert the scan in ReCap, insert it with the right position, and make it visible in your views.
Which files you need to import point cloud into Revit
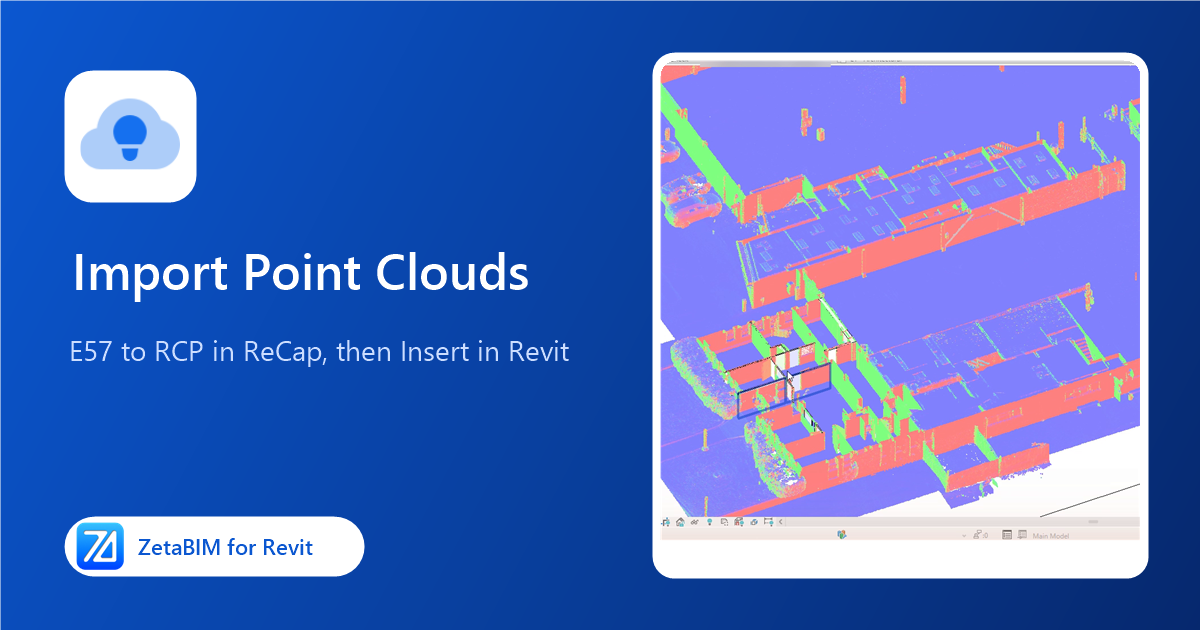
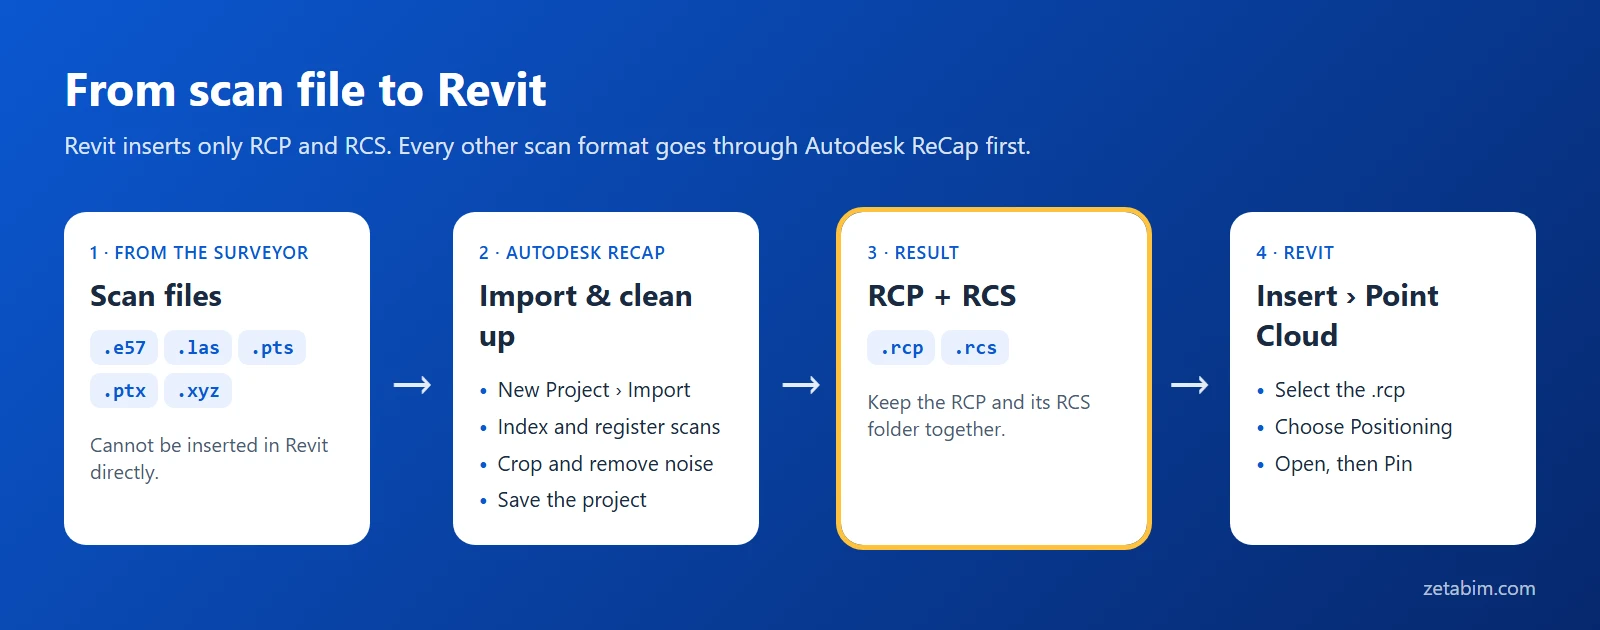
Revit’s Insert › Point Cloud accepts only two Autodesk formats:
| Format | What it is |
|---|---|
| .rcs | One indexed scan, usually one scanner position. |
| .rcp | A ReCap project that points to one or more .rcs files. This is the file you normally insert. |
Scanner formats such as E57, LAS, PTS, PTX or XYZ cannot be inserted directly. Convert them in Autodesk ReCap first. ReCap Pro is part of the AEC Collection.
Step 1: Convert the E57 scan in ReCap
- Open ReCap Pro and start a New Project. Give it a name and choose where to save it.
- Click Import point cloud and select the E57 file, or several files from the same job.
- Let ReCap index the scans. Large files take a while; leave enough free disk space, as the indexed files are created next to the project.
- Open the project and check that the scans line up. If the surveyor delivered separate, unregistered scans, register them in ReCap now.
Step 2: Clean up and save the RCP
- Crop away what you do not need, such as the street, trees or neighbouring buildings. A smaller scan keeps Revit fast.
- Delete obvious noise: people, cars and reflections.
- Save the project. You now have an .rcp file and a folder of .rcs files. Keep them together: the RCP only points to the RCS files.
For big sites, save one RCP per building or per floor. You can then link only the part you work on, which is one of the easiest ways to stop a point cloud being slow in Revit.
Step 3: Insert the RCP into Revit
-
Open your project and go to Insert › Point Cloud.
-
Select the .rcp file.
-
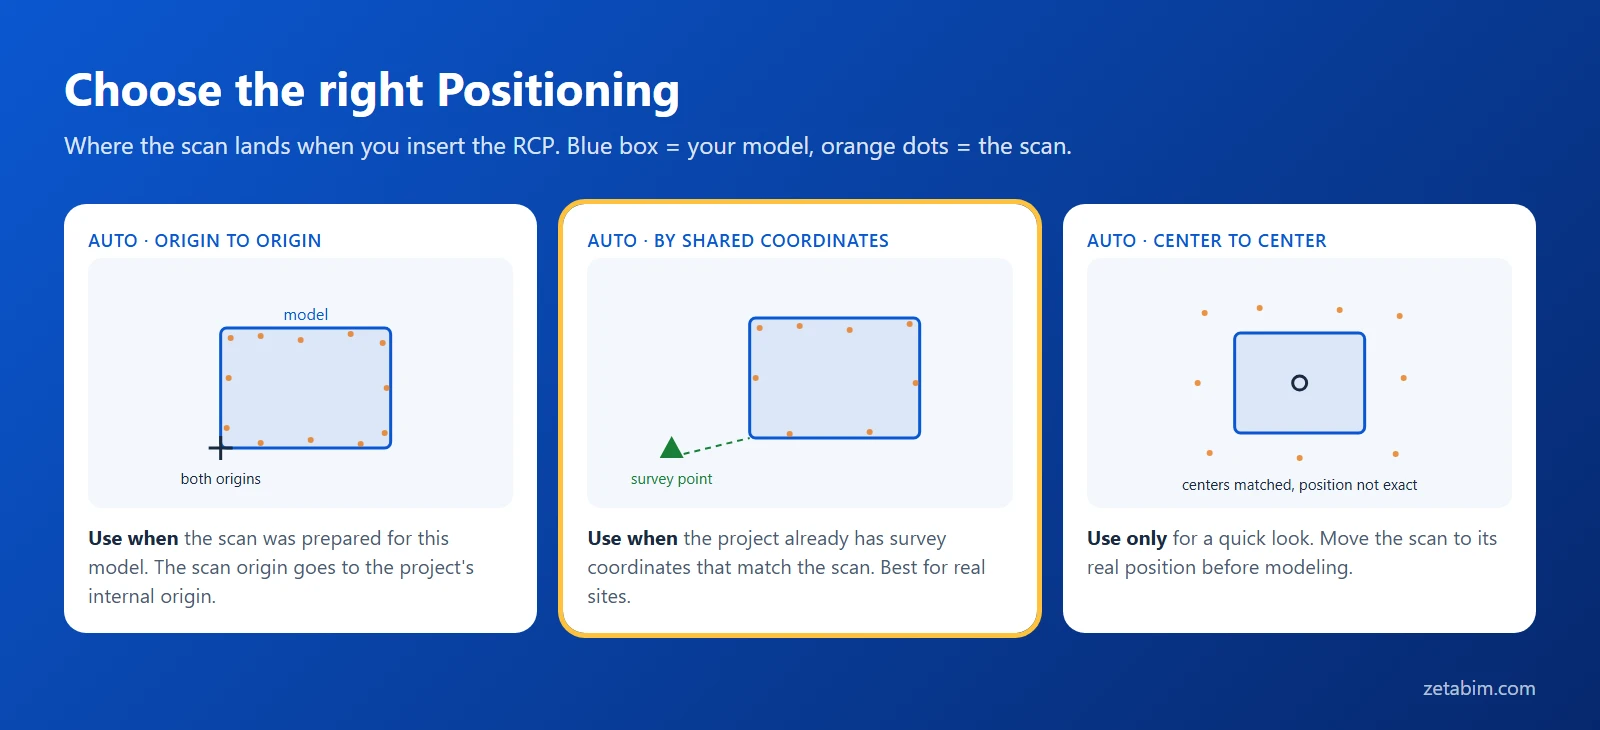
Choose the Positioning:
- Auto – Origin to Origin: the scan’s origin goes to the project’s internal origin. Use it when the scan was prepared for this model.
- Auto – By Shared Coordinates: use it when the project already has survey coordinates that match the scan.
- Auto – Center to Center: only for a quick look; the position is not exact.
-
Click Open. The point cloud is linked, not embedded, so the project file stays small.
-
Select the point cloud and Pin it, so nobody moves it by accident.
Step 4: Make sure you can see the scan
If the scan does not appear, check these settings in order:
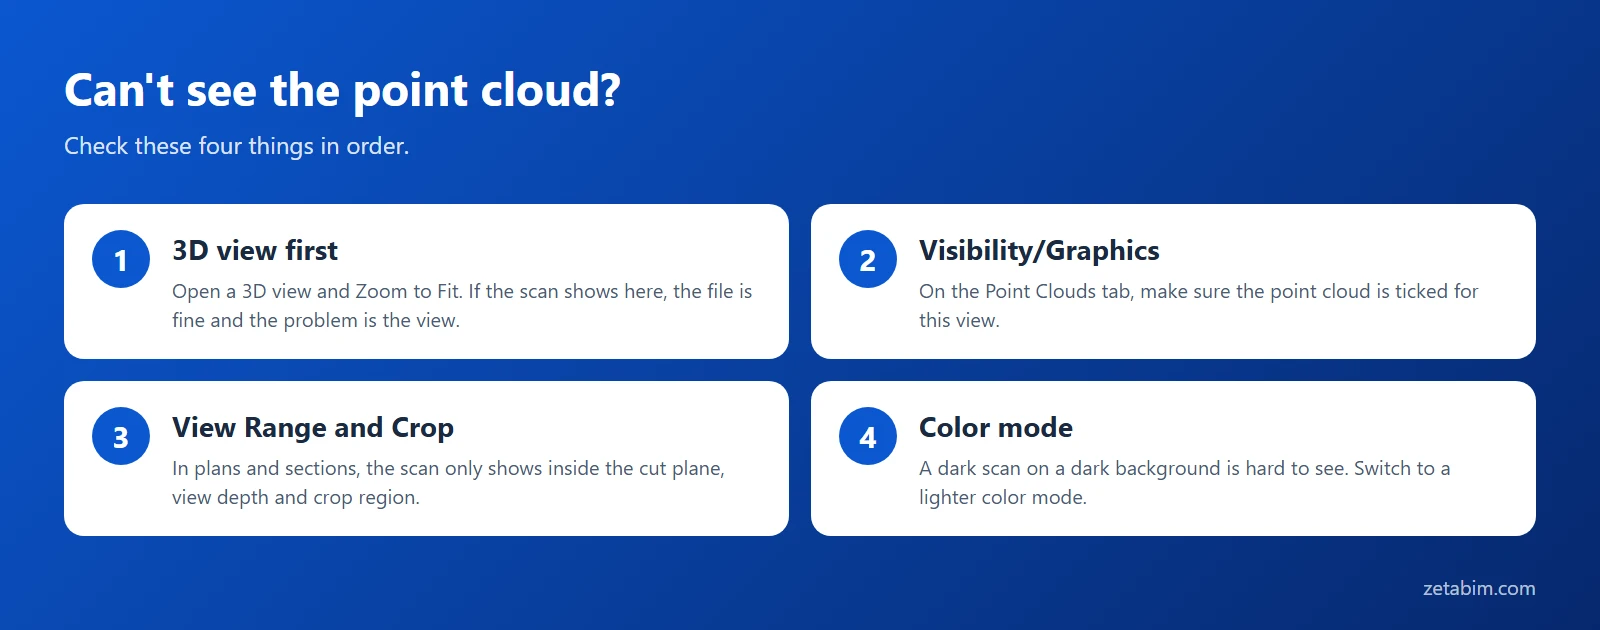
- 3D view first. Open a 3D view and zoom to fit. If the scan is there, the problem is the view, not the file.
- Visibility/Graphics. On the Point Clouds tab, make sure the point cloud is ticked for this view. Show/Hide PCL toggles it in one click.
- Plans and sections. The scan is shown only inside the View Range and the Crop Region. Check the cut plane and the view depth.
- Color. A dark scan is hard to read on a dark background. Change the color mode in Visibility/Graphics, or switch all scans at once with Color Mode PCL.
When the scan moves to another folder
Revit remembers where the RCP is. If you move the files or open the project on another computer, go to Manage › Manage Links › Point Clouds, select the scan and click Reload From to point Revit to the new location.
After the import
Once the scan is in place, you can start modeling. Box the area you work on with Face Section Box, model walls, doors and windows with Fit Arch, and trace plans from a sharp image with Cloud Image. The full process is in how to model a point cloud in Revit.
FAQ
Can Revit open an E57 file directly?
No. Revit inserts only RCP and RCS files. Convert the E57 in ReCap first.
Should I insert the RCP or the RCS files?
Insert the RCP. It brings all its scans in one go, and you can still hide single scans in Visibility/Graphics.
Does Revit LT support point clouds?
No. Point clouds need the full version of Revit.
The scan is far away from my model. What went wrong?
Usually the positioning. Remove the point cloud and insert it again with Origin to Origin or By Shared Coordinates, depending on how the scan was prepared.
Get ZetaBIM
ZetaBIM is a Revit plugin for scan-to-BIM teams. See the complete guide to the Revit point cloud plugin workflow. Download ZetaBIM to try it, browse more ZetaBIM tutorials, or watch the videos on the ZetaBIM YouTube channel.
About The Author