Your cart is currently empty!
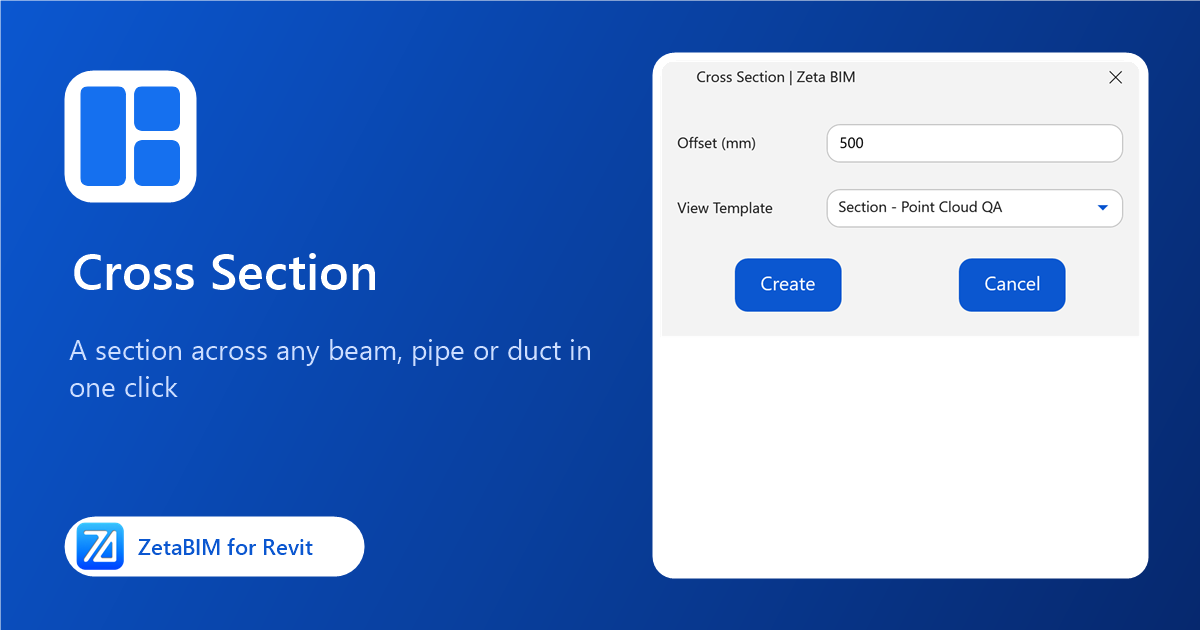
Checking a beam or a pipe against the scan usually starts with drawing a section by hand and rotating it to the element. Cross Section makes a Revit cross section in one click: pick the element and the section opens.
Why use a one-click Revit cross section
- Square to the element. The section is cut straight across the element at the point you pick, even when the element runs at an angle.
- Works on vertical elements too. For risers and columns, the cut is horizontal and you look from above.
- Fast QA. Compare the model with the point cloud at any spot in seconds.
Steps
- Click Cross Section (Zeta BIM tab › Manager).
- Pick a beam, pipe, duct, cable tray or any element with a location line, at the place you want to cut.
- The new section view opens at Fine detail level.
Optional settings dialog
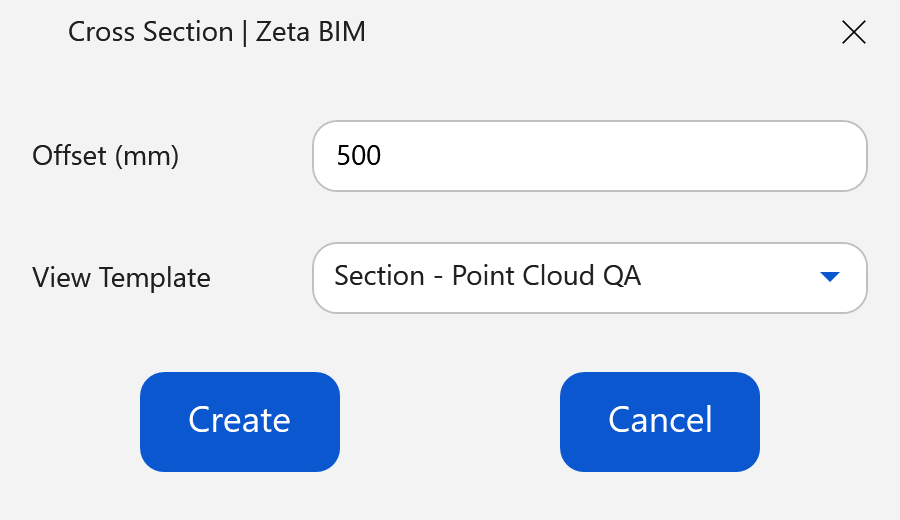
By default the tool works without a dialog. To choose a view template and how deep the section looks, turn on the panel in Zeta BIM › Settings › Cross Section. Then every run shows:
| Option | What it does |
|---|---|
| Offset | How far the section looks along the element. |
| View Template | Template applied to the new section. |
Good to know
- Each run creates a new section view; rename or delete it as you like.
- For a section along an element instead of across it, use Parallel Section.
Related
Video
Get ZetaBIM
ZetaBIM is a Revit plugin for scan-to-BIM teams. See the complete guide to the Revit point cloud plugin workflow. Download ZetaBIM to try it, browse more ZetaBIM tutorials, or watch the videos on the ZetaBIM YouTube channel.
About The Author