Your cart is currently empty!
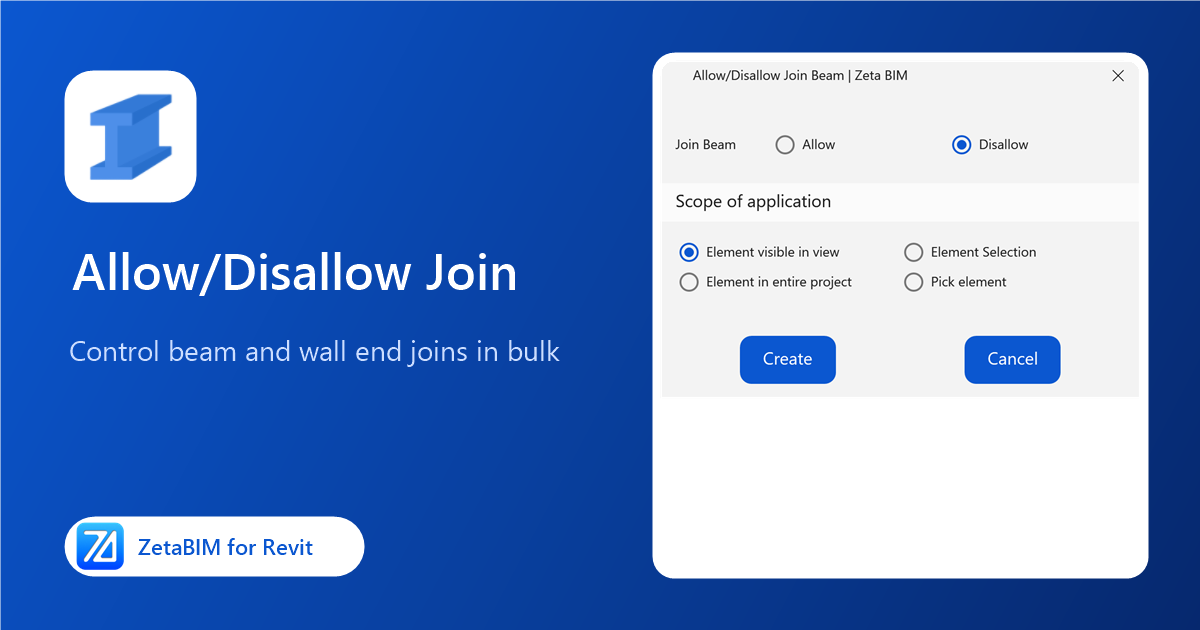
When beams or walls join automatically at their ends, they stretch and trim themselves, which often spoils a model traced from a scan. Allow/Disallow Join lets you disallow join in Revit for many beams or walls at once, or allow it again.
Why disallow join in Revit in bulk
- Keep measured positions. Elements modeled from the point cloud stay exactly where you placed them.
- No clicking each end. Revit’s own setting is per end, one element at a time; this tool does both ends of all elements in the scope.
- Easy to undo. Run it again with Allow to restore normal joining.
Steps
- Click Join › Allow/Disallow Join Beam or Allow/Disallow Join Wall (Zeta BIM tab › Manager).
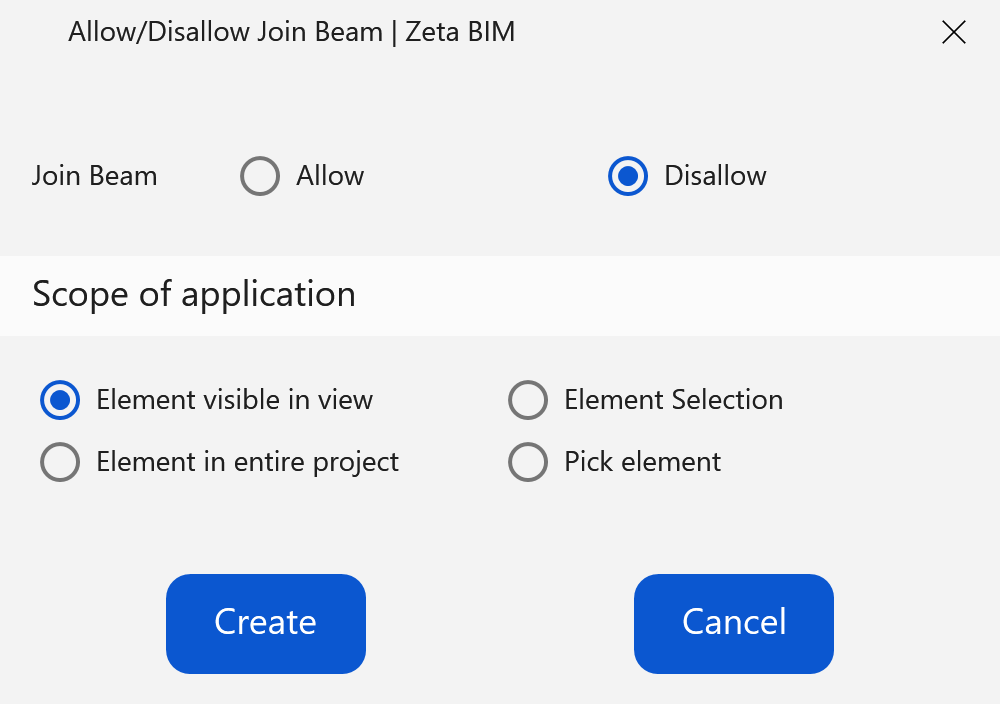
- Choose Allow or Disallow.
- Choose the Scope of application: elements visible in view, the current selection, the entire project, or pick elements.
- Click Create.
Good to know
- The setting applies to both ends of each beam or wall.
- Fit Structure can disallow join for new beams as you create them.
- To join elements to each other by category rules, use Auto Join.
FAQ
Does it move my elements?
Disallowing a join does not move an element. Allowing it again lets Revit rejoin and may extend or trim the ends.
Can I use it on curtain walls?
It applies to walls; curtain walls follow Revit’s own rules for joins.
Related
Video
Get ZetaBIM
ZetaBIM is a Revit plugin for scan-to-BIM teams. See the complete guide to the Revit point cloud plugin workflow. Download ZetaBIM to try it, browse more ZetaBIM tutorials, or watch the videos on the ZetaBIM YouTube channel.
About The Author