Your cart is currently empty!
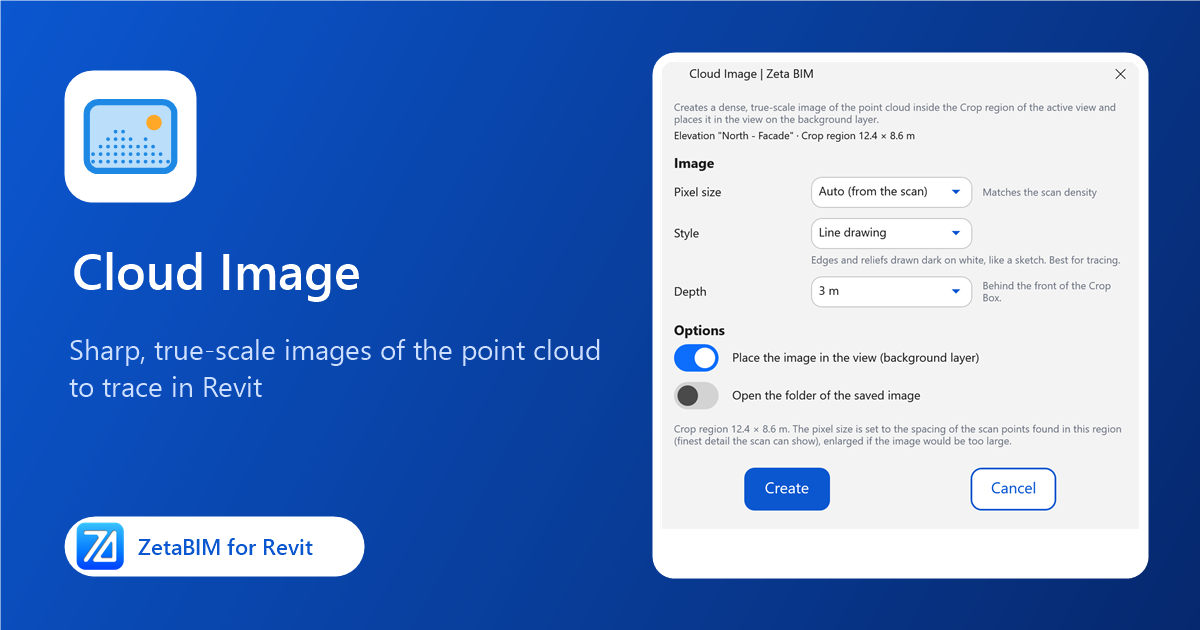
Tracing a facade straight on a point cloud is slow and hard to read. Cloud Image creates a sharp Revit point cloud image of the view, at true scale, that you can trace like a drawing.
What the Revit point cloud image tool does
Cloud Image turns what the point cloud shows inside the crop region of a view into a single, sharp image at real scale, and places it in that view on the background layer. Use it to trace facades, mouldings and floor plans quickly, or to share a clean picture of the scan without the point cloud file.
Before you start
- Open a floor plan, ceiling plan, elevation or section. The point cloud must be visible in this view.
- Turn on Crop View and set the crop region around the area you need. A smaller region gives a sharper, lighter image.
- Plans use their View Range; elevations and sections use the depth you choose in the dialog.
Steps
-
Click Cloud Image (Zeta BIM tab › PointCloud Tools).
-
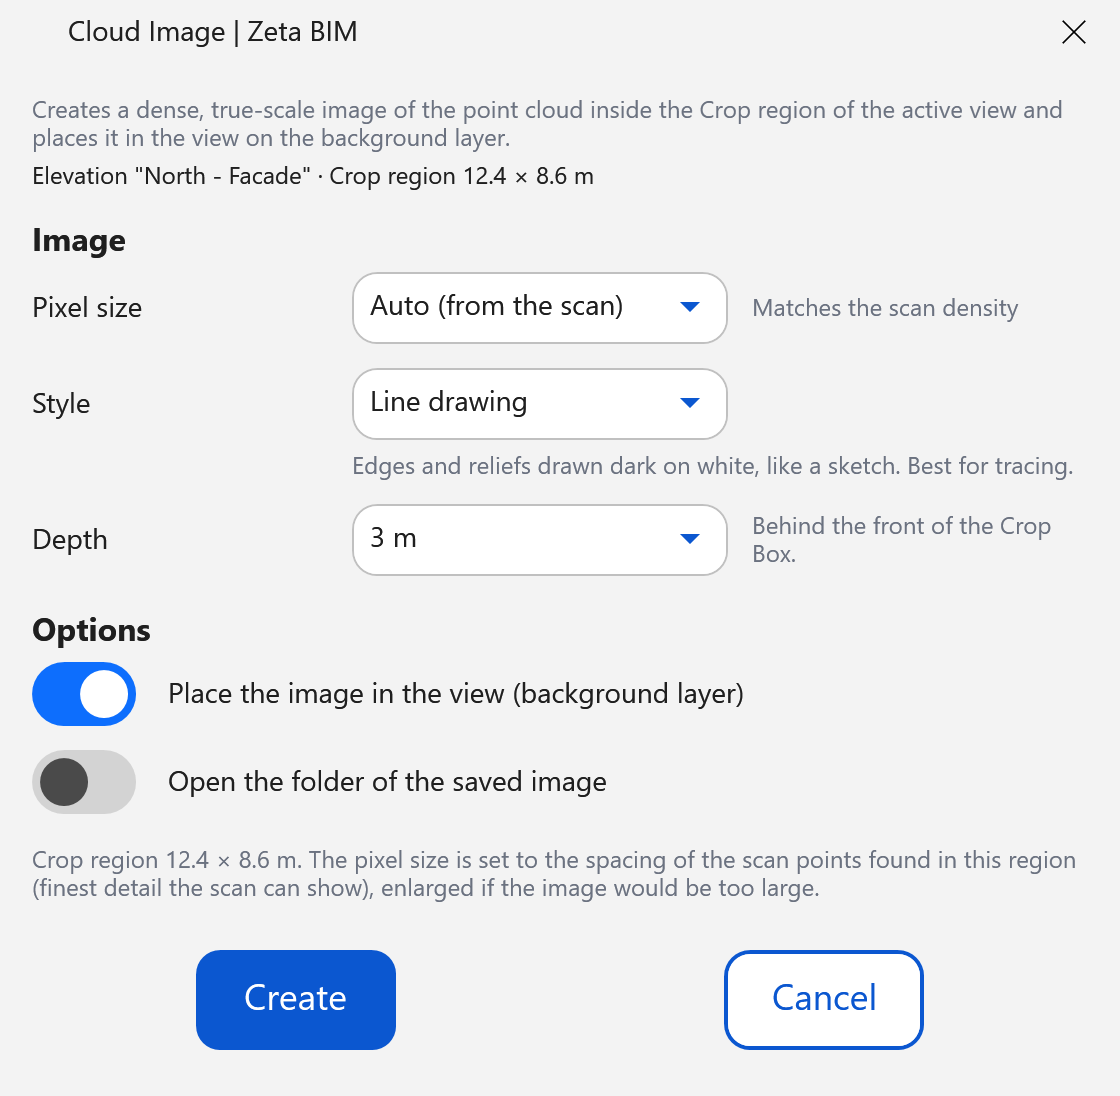
Choose the pixel size, style and depth (see below) and click Create.
-
The image is saved as a PNG and, if selected, placed in the view at the correct size and position.
Options
| Option | Choices | Meaning |
|---|---|---|
| Pixel size | Auto, 1, 2, 3, 5, 10, 20 mm | Size of one pixel on the real object. Auto matches the density of the scan, so the image shows all the detail the scan has. 1–2 mm needs a very dense scan. |
| Style | Scan colors · Line drawing · Scan colors + edges · Section cut | Scan colors: photo-like. Line drawing: edges dark on white, best for tracing. Scan colors + edges: photo with edges darkened. Section cut: only the points on the cut plane, as black profile lines. |
| Depth | 1 m, 3 m, 5 m, Whole view depth | Elevations and sections only: how far behind the front of the crop box points are included. |
| Place the image in the view | On / Off | Inserts the image in the view on the background layer, so your model draws over it. |
| Open the folder of the saved image | On / Off | Opens File Explorer at the saved PNG. |
The dialog shows the image size before you create it. If the image would be too large, choose a larger pixel size or a smaller crop region.
Where the images are saved
By default next to the project file, in a folder named "<Project> – Cloud Images". You can choose another folder in Zeta BIM › Settings › General.
Good to know
- Images are named "ZetaBIM CloudImage – <view> – <pixel size> – <date time>", so you can tell them apart in the project.
- If no points are found in the region, check the crop region and the depth, or for Section cut move the section line so it cuts through the scan.
- Cleanup ZetaBIM Data lists the Cloud Images in the project and removes the ones you no longer need.
Related
Get ZetaBIM
ZetaBIM is a Revit plugin for scan-to-BIM teams. See the complete guide to the Revit point cloud plugin workflow. Download ZetaBIM to try it, browse more ZetaBIM tutorials, or watch the videos on the ZetaBIM YouTube channel.
About The Author