Your cart is currently empty!

Paths, terraces and parking pads sit on the ground, but a flat floor ignores the slope of the site. Snap Floor puts a floor on topography: the floor is shaped to follow the terrain under it.
Why put a floor on topography this way
- Follows the ground. The floor takes the levels of the terrain along its outline.
- Many floors at once. Select all the paths and pads in one go.
- Offset. Raise the floor above the ground or sink it in, for example by the build-up thickness.
Steps
- Open a 3D view.
- Click Snap Tools › Snap Floor (Zeta BIM tab › Manager).
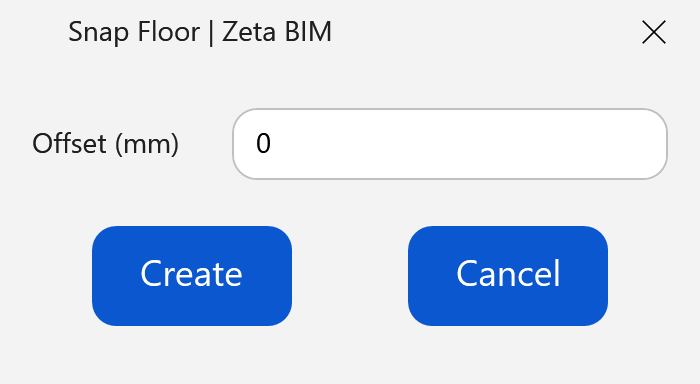
- Enter the Offset (0 = on the terrain) and click Create.
- Select the floors and click Finish.
- Pick the terrain: a toposolid (Revit 2024+) or a topography surface (Revit 2021–2023).
- Each floor is shaped to the terrain under it.
Good to know
- The floor gets shape points from the terrain along its boundary, so its top follows the ground there.
- To go back, use Undo until the floor is flat again; each floor is changed in a few steps.
- The offset is remembered for next time.
- Shape the terrain from the scan first with Topo By Points for the best result.
FAQ
Does it change the terrain?
No. Only the selected floors are shaped. The terrain stays as it is.
Can I use it on a floor that is not over the terrain?
Only the parts over the terrain can follow it, so place the floor over the site area first.
Related
Video
Get ZetaBIM
ZetaBIM is a Revit plugin for scan-to-BIM teams. See the complete guide to the Revit point cloud plugin workflow. Download ZetaBIM to try it, browse more ZetaBIM tutorials, or watch the videos on the ZetaBIM YouTube channel.
About The Author