Your cart is currently empty!
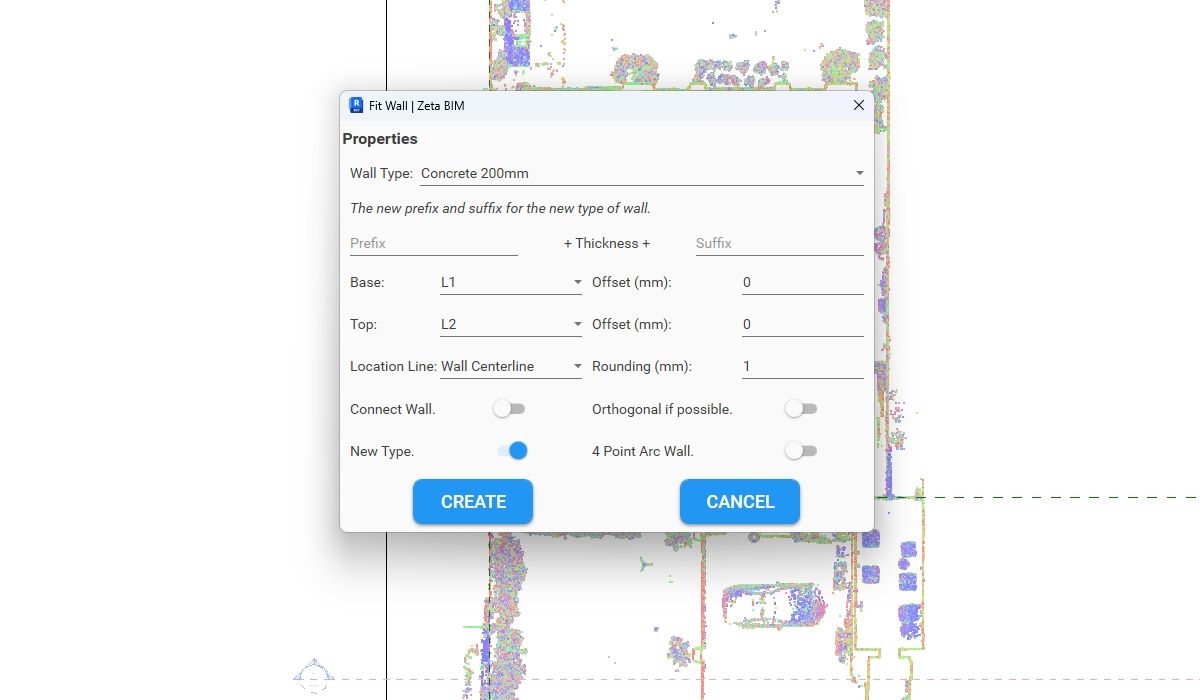
The Fit Wall tool draws Revit walls in a plan view from a few picks on the point cloud. You pick along one face of the wall and then the other face, and the wall is created with that thickness.
When to use the Fit Wall tool
Fit Wall gives you full control over where each wall starts and ends. Therefore it suits plans where you want to place walls point by point, for example irregular walls, short segments and curved walls. For one-click walls measured from the scan, see Fit Arch.
Before you start
- Open a floor plan with the point cloud visible. The tool only runs in a plan view.
- Set the view range so the scan shows the walls clearly.
Steps
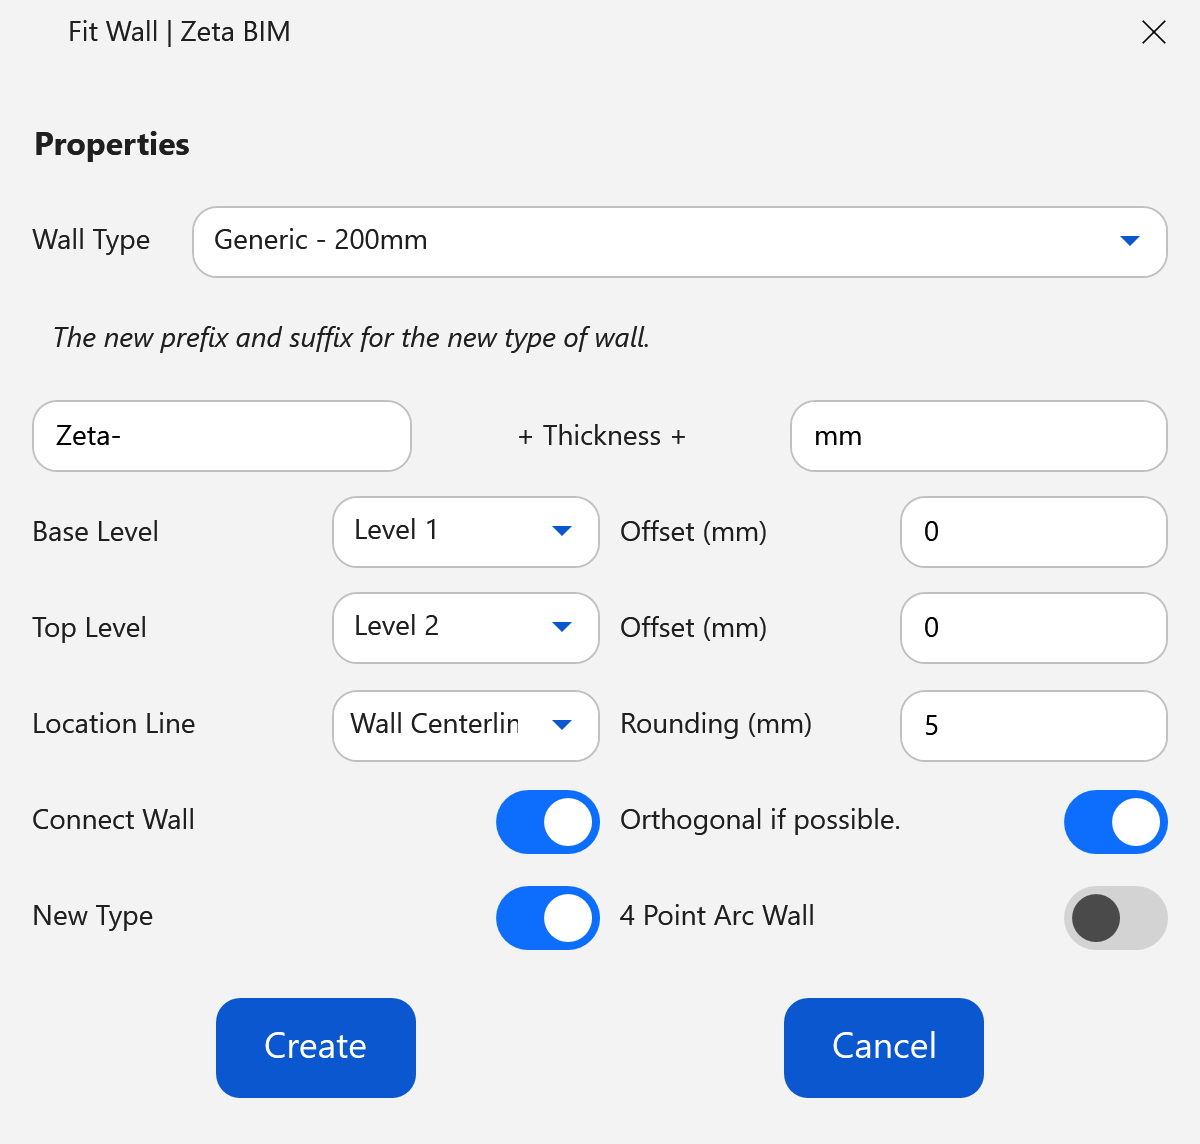
- Click Fit Wall (Zeta BIM tab › PointCloud Tools) and set the options.
- Click Create.
- Pick the start point and the end point along one face of the wall.
- Pick a point on the other face of the wall. The distance between the two faces becomes the wall thickness.
- The wall is created. Keep picking the next wall, then press Esc to finish.
With 4 Point Arc Wall on, you pick the start, the end, the centre of the arc and then the other face.
Options
| Option | What it does |
|---|---|
| Wall Type | The type that new wall types are copied from. |
| Prefix + Thickness + Suffix | Name of new types, e.g. Zeta- + 250 + mm = Zeta-250mm. An existing type with that name is reused. |
| Base Level / Top Level and Offsets | Where the wall starts and ends in height. |
| Location Line | The line the wall is placed on. |
| Rounding | Rounds the measured thickness, e.g. to 5 mm, so similar walls share one type. |
| Connect Wall | Joins each new wall to the previous one, so corners close cleanly. |
| New Type | Creates a type for each measured thickness. Off: every wall uses the selected Wall Type. |
| Orthogonal if possible | Straightens walls that are almost parallel to the project X or Y axis. |
| 4 Point Arc Wall | Draws curved walls from four picks. |
Good to know
- If the new type would be too thin for the base type’s layers, a message explains it and no wall is created.
- Settings are remembered for the next time, separately for metric and imperial projects.
Related
Video
Get ZetaBIM
ZetaBIM is a Revit plugin for scan-to-BIM teams. See the complete guide to the Revit point cloud plugin workflow. Download ZetaBIM to try it, browse more ZetaBIM tutorials, or watch the videos on the ZetaBIM YouTube channel.
About The Author