Your cart is currently empty!
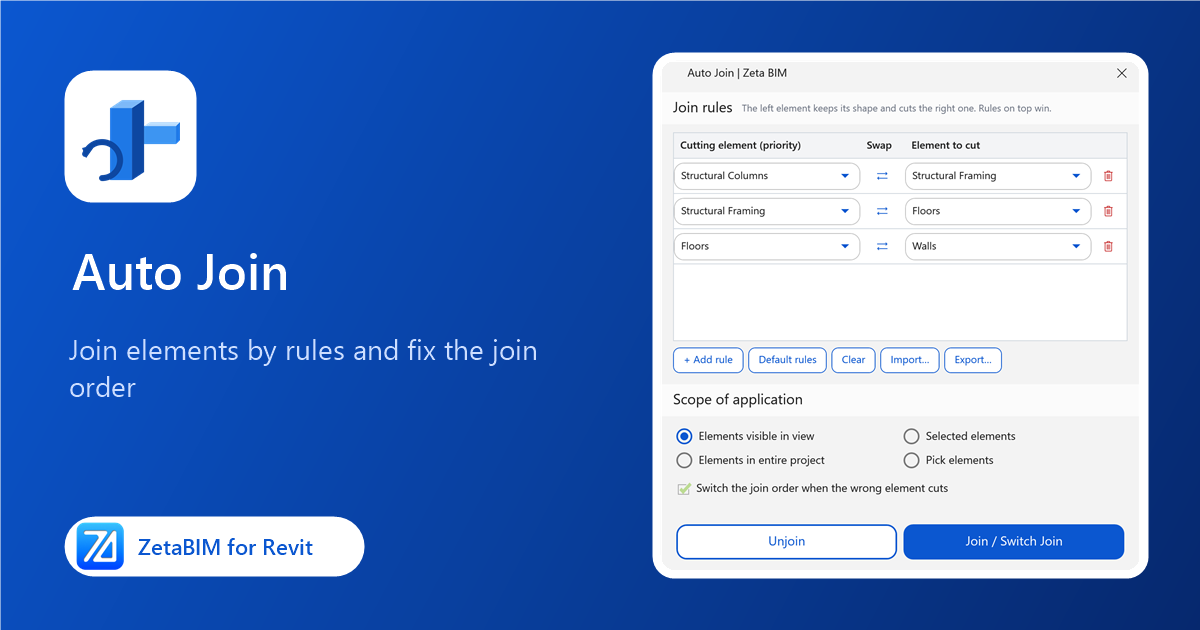
Joining columns, beams, floors and walls one pair at a time takes hours, and the join order is easy to get wrong. Auto Join lets you auto join in Revit by rules: set which category cuts which, and every touching pair is joined the right way.
Why auto join in Revit by rules
- Correct quantities. Joined elements do not overlap, so volumes and areas are right.
- Consistent order. The same rules apply everywhere, for example columns always cut beams.
- Fix existing joins. Elements that are joined the wrong way round can be switched automatically.
Steps
- Click Join › Auto Join (Zeta BIM tab › Manager).
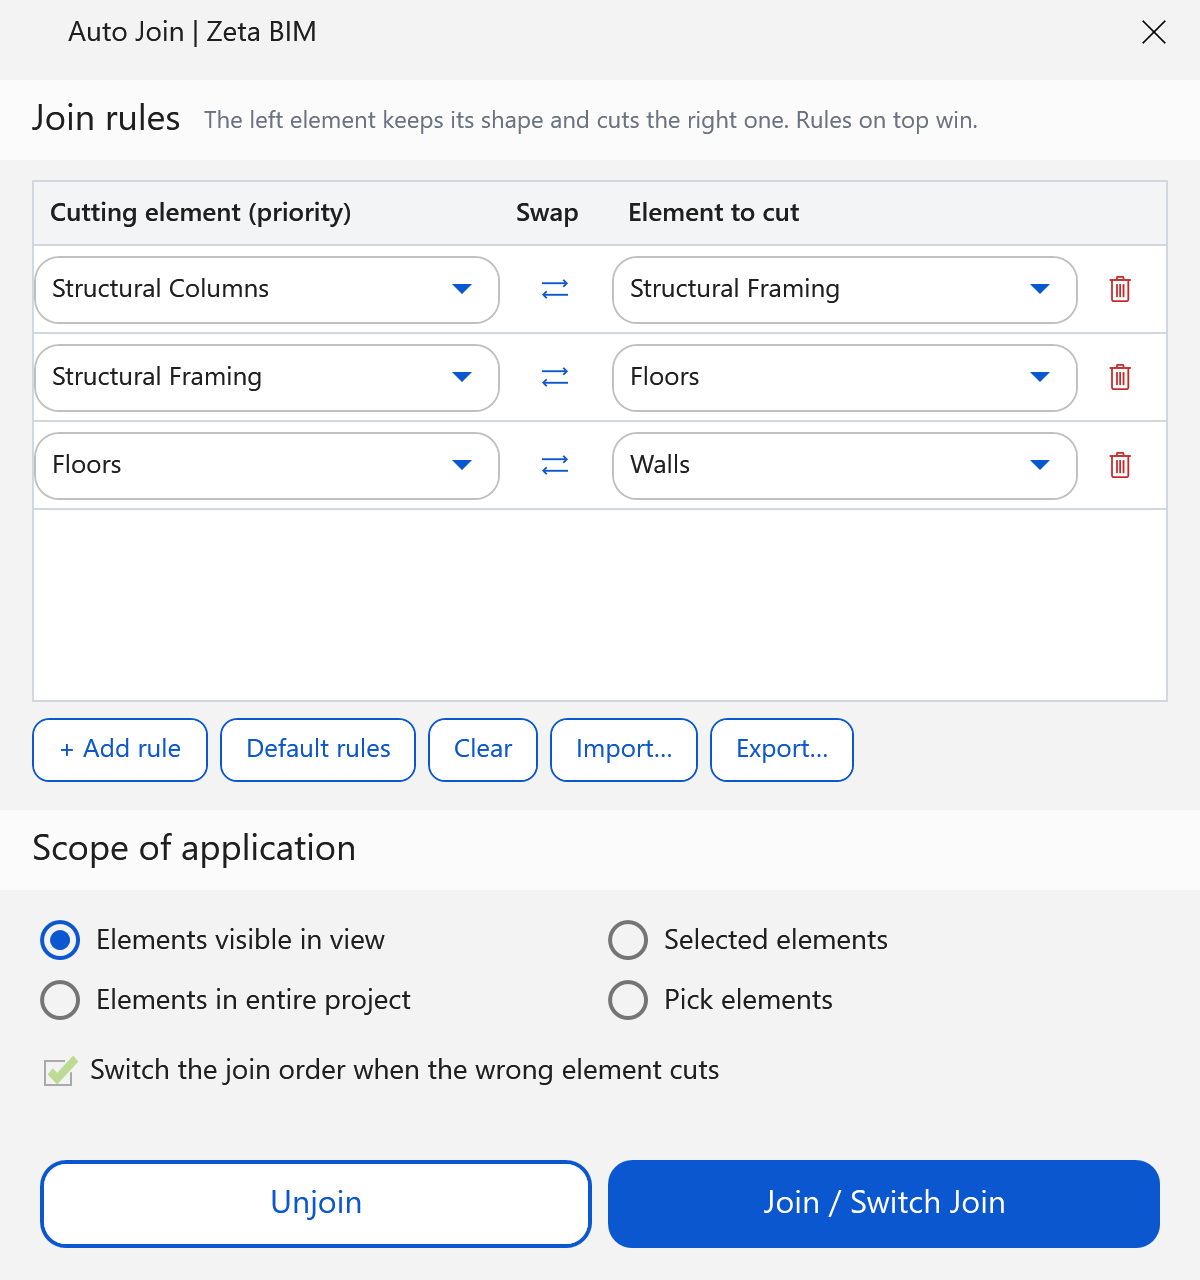
- Set the Join rules. In each row, the Cutting element keeps its shape and cuts the Element to cut. Rules on top win.
- Choose the Scope of application: elements visible in view, selected elements, the entire project, or pick elements.
- Click Join / Switch Join. A summary shows what was joined and switched.
Rules
| Button | What it does |
|---|---|
| + Add rule | Adds a row. |
| ⇄ Swap | Swaps the two categories of a row. |
| Default rules | Column › Beam › Floor › Wall. |
| Clear | Removes all rules. |
| Import… / Export… | Saves rules to a file to share with your team. |
Tick Switch the join order when the wrong element cuts to correct pairs that are already joined the wrong way round.
Unjoin
Click Unjoin to unjoin the elements covered by the rules in the chosen scope, for example before you move many elements.
Related
Get ZetaBIM
ZetaBIM is a Revit plugin for scan-to-BIM teams. See the complete guide to the Revit point cloud plugin workflow. Download ZetaBIM to try it, browse more ZetaBIM tutorials, or watch the videos on the ZetaBIM YouTube channel.
About The Author